This article is part of a series.
View all 17 parts
- Part 1 – The Hunter S. Thompson Board -- Arduino Mega Mini
- Part 2 – This Article
- Part 3 – Mega Mini Motor Shield (M^3)
- Part 4 – My Eagle PCB Walkthrough
- Part 5 – Populating and Programming and APM
- Part 6 – Incomplete Works
- Part 7 – HM-10
- Part 8 – Jot
- Part 9 – Homemade Pulse Sensor
- Part 10 – ATtiny Adventure -- I2C on ATtiny 84/85
- Part 11 – ATtiny Bitsy Spider
- Part 12 – Kobold
- Part 13 – Scarab
- Part 14 – The Valdez Mutant -- LPC1114 QFN
- Part 15 – Lab Controller PCB
- Part 16 – Lab Controller v05-09
- Part 17 – Robber Board
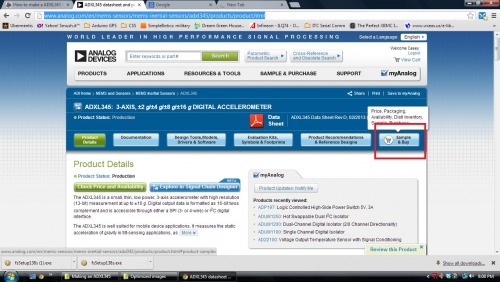
Originally posted on [www.letsmakerobots.com](www.letsmakerobots.com 1. Get over to Analog Devices and sign-up for a sample account. They seem to be pretty nice and let you order several samples every month, I believe.
2. Order a few samples of the ADXL345 chip from Analog Devices.
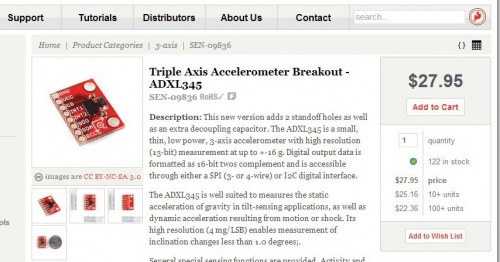
- Download the Eagle files from Sparkfun: ADXL345 (Note the price).
- Sign up for an OSHPark account. Then, upload the .brd found in the Eagle files.

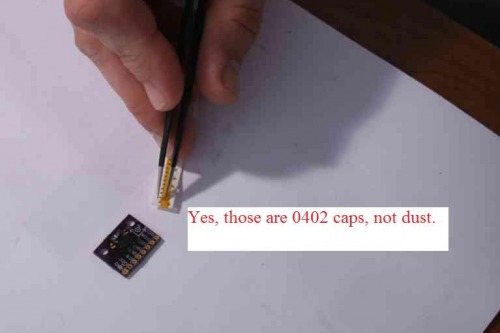
- Order the capacitors.
- Try to learn Python while the mail peoples do their magics.
**
 **
**
-
Flip-off your Python code and get the mail.
-
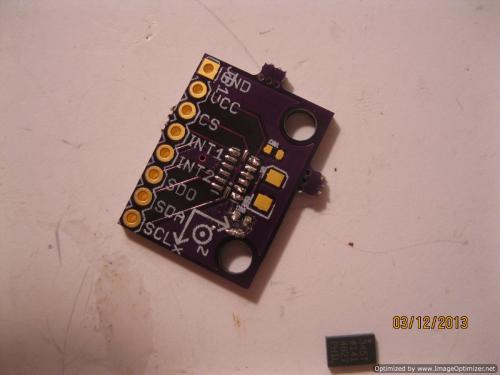
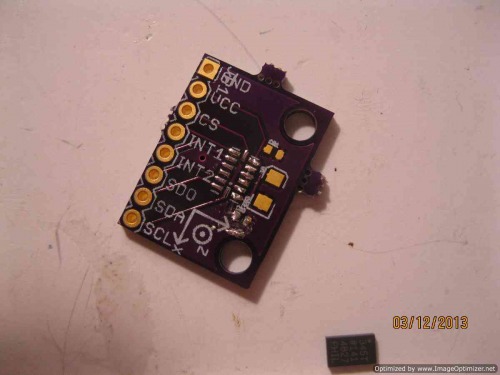
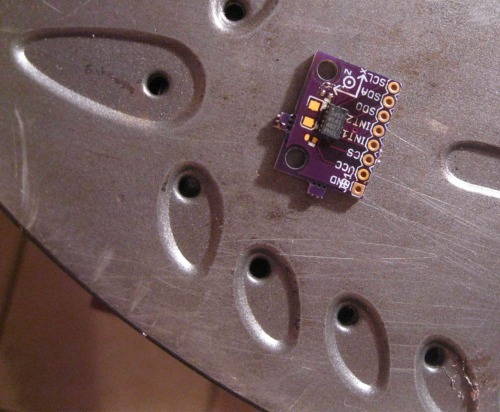
Take everything out. ADXL breakout board, ADXL345 chip, and caps.
-
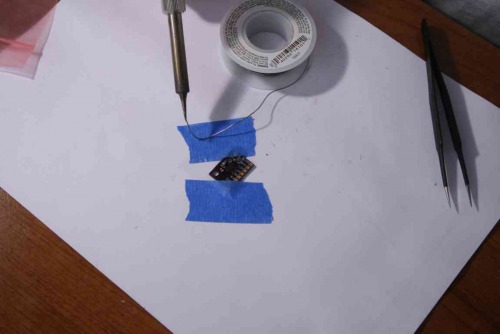
Populate your board. At this point, a good iron will do you well. But as a general rule, start with the largest chip when soldering SMDs. In our case, it is the ADXL345. Paint some solder flux all over the exposed pads. Now, take a very fine solder, such as .022 and put some on the tip of your iron. Drag the droplet of solder across the exposed pads of where the ADXL will go. Now, after the beads have cooled, paint your solder flux over the hardened beads. The idea is to have the chip floating on this flux.
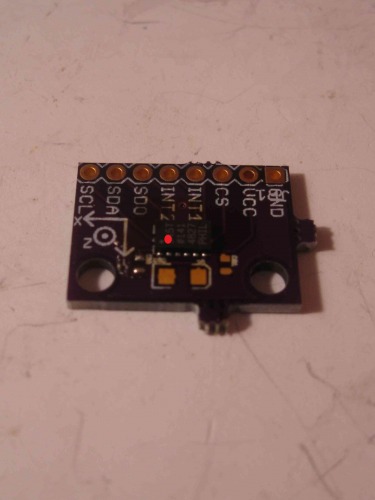
- Place the ADXL345 on the invisible flux, hovering over the pads. Make sure the small white dot on the the corner of the chip is in the same place the red is below.
- Put the board on an over turned iron. This is the most important part: Watch the chip. What you are hoping to see is the chip magically float in place as the solder flux flows out from under the chip, leading to the solder beads bonding with the exposed copper of the ADXL345. Seriously, don't look away :). If for some reason you don't feel the chip has bonded at each pad, then very lightly press down in the middle of the chip. I said lightly!
12. Cap that B. Erm, populate the capacitors.
**
 **
**
**
 **
**
13. Plug and pray.
14. Realize it doesn't work because you suck at life.
15. Pull the ADXL back off, clean the pads with solder wick, and try again.

16. Repeat step 11, but this time, watch the chip, no seriously.
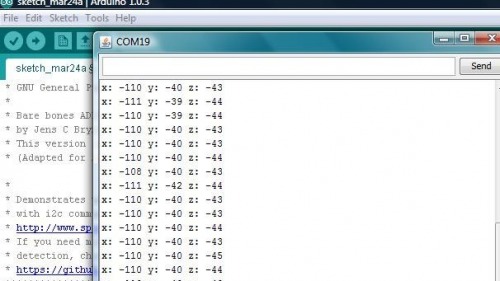
17. Hook it up and check it out. The chip is both SPI/I2C ready, but I prefer I2C. So, hook that sucker up to the Arduino and see if it works. This fellow provided code and instructions on connecting are in the code's comments at the top.
18. Watch as your one dollar(ish) ADXL345 does witchery.
19. Ponder the ethics of sampling chips, borrowing board layouts from SparkFun, and buying underpriced capacitors from China; all leading to saving you around $12~25-- or have a beer.
20. Try not to abuse the sampling previlige.
If you have any questions, I'll do my ignorant best.