Originally posted on www.letsmakerobots.com
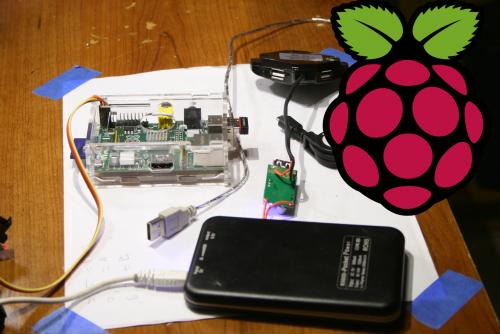
As I prepare to start adding peripherals to my Pi Bot, I wanted to be sure to get around the 700ma power budget the Pi has. After searching for a cheap battery powered USB hub and finding little, I decided to hack up a few cheap(ish) parts and make my own.
-
USB Hub : $1.39
-
5000mAh Battery : $17.93
-
DC-DC Converter : $2.76
Total: $22.08
The Battery Hack:
1. Crack it open.
2. Find POWER and GND.
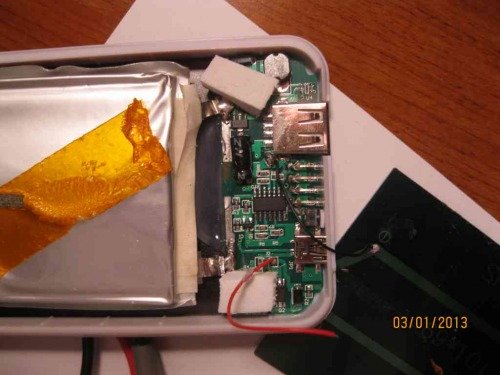

3. Wire it up.
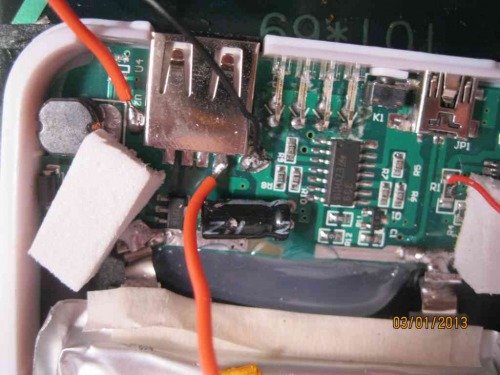
4. Make a small hole for wires and bring wires out ...


 **
**