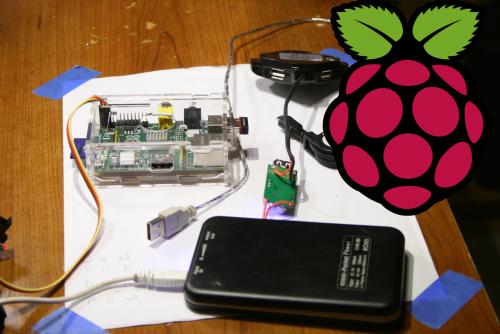
8/25/13:
This fellow here has made some pretty nifty walkthroughs on the rtl8192 and the Chronodot (DS3231) RTC on the Arch Linux. Though I've not attempted his instructions (been burnt out on this board) I believe his instructions will get a reliable WiFi connection with the rtl8192, using Arch Linux, on the B^3.
- rtl8192 with Arch Linux
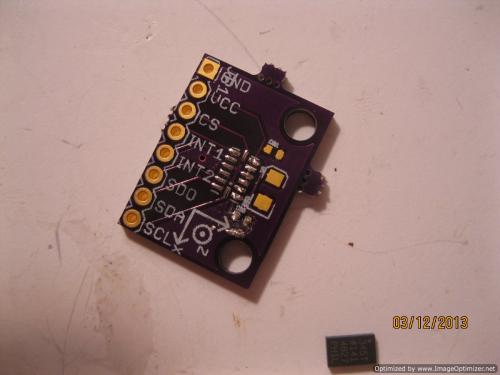
- Chronodot (eBay: DS3231 )
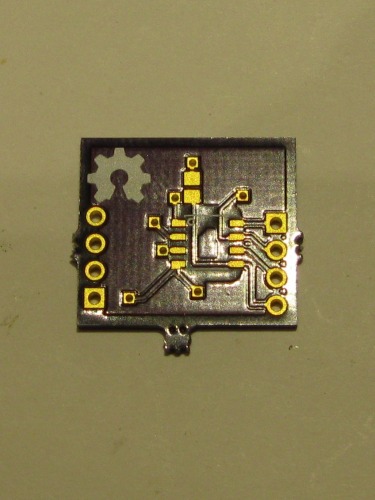
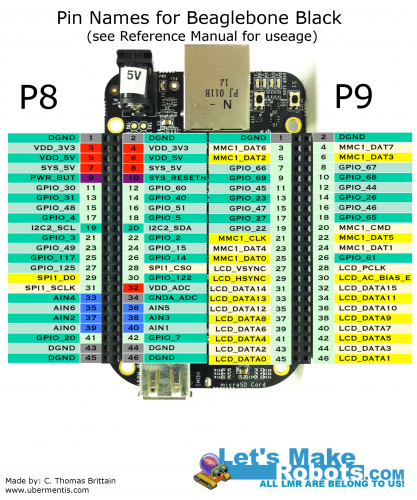
Also, when I get the energy, the pinout at the bottom of this page has a mistake or two. As Zaius pointed out.
EDIT: Ok. Don't use the pinout until I research more. I'm getting conflicting information ...