This article is part of a series.
View all 6 parts
- Part 1 – A LEGO Classifier -- CNN and Elbow Grease
- Part 2 – Training a CNN to Classify LEGOs
- Part 3 – Generating LEGO Images for Training a CNN
- Part 4 – Install Tensorflow and OpenCV on Raspberry Pi
- Part 5 – This Article
- Part 6 – Arduino RAMPs 1.4 Custom Firmware
I've been working on an automated system for sorting LEGOs. It seems like a simple enough task, however, the nuances of implementation are ugly. I have prototypical solutions for a few of these challenges, such as identifying the LEGO and creating training data for supporting the classifier. But one of the trickier problems has vexed me: How do we get the LEGO from a container to the classifier?
The answer is obvious, right? A conveyor belt. They are ubiquitous in manufacturing, so I thought, "Simple. I'll toss a conveyor belt together real quick and that'll solve that." Hah.
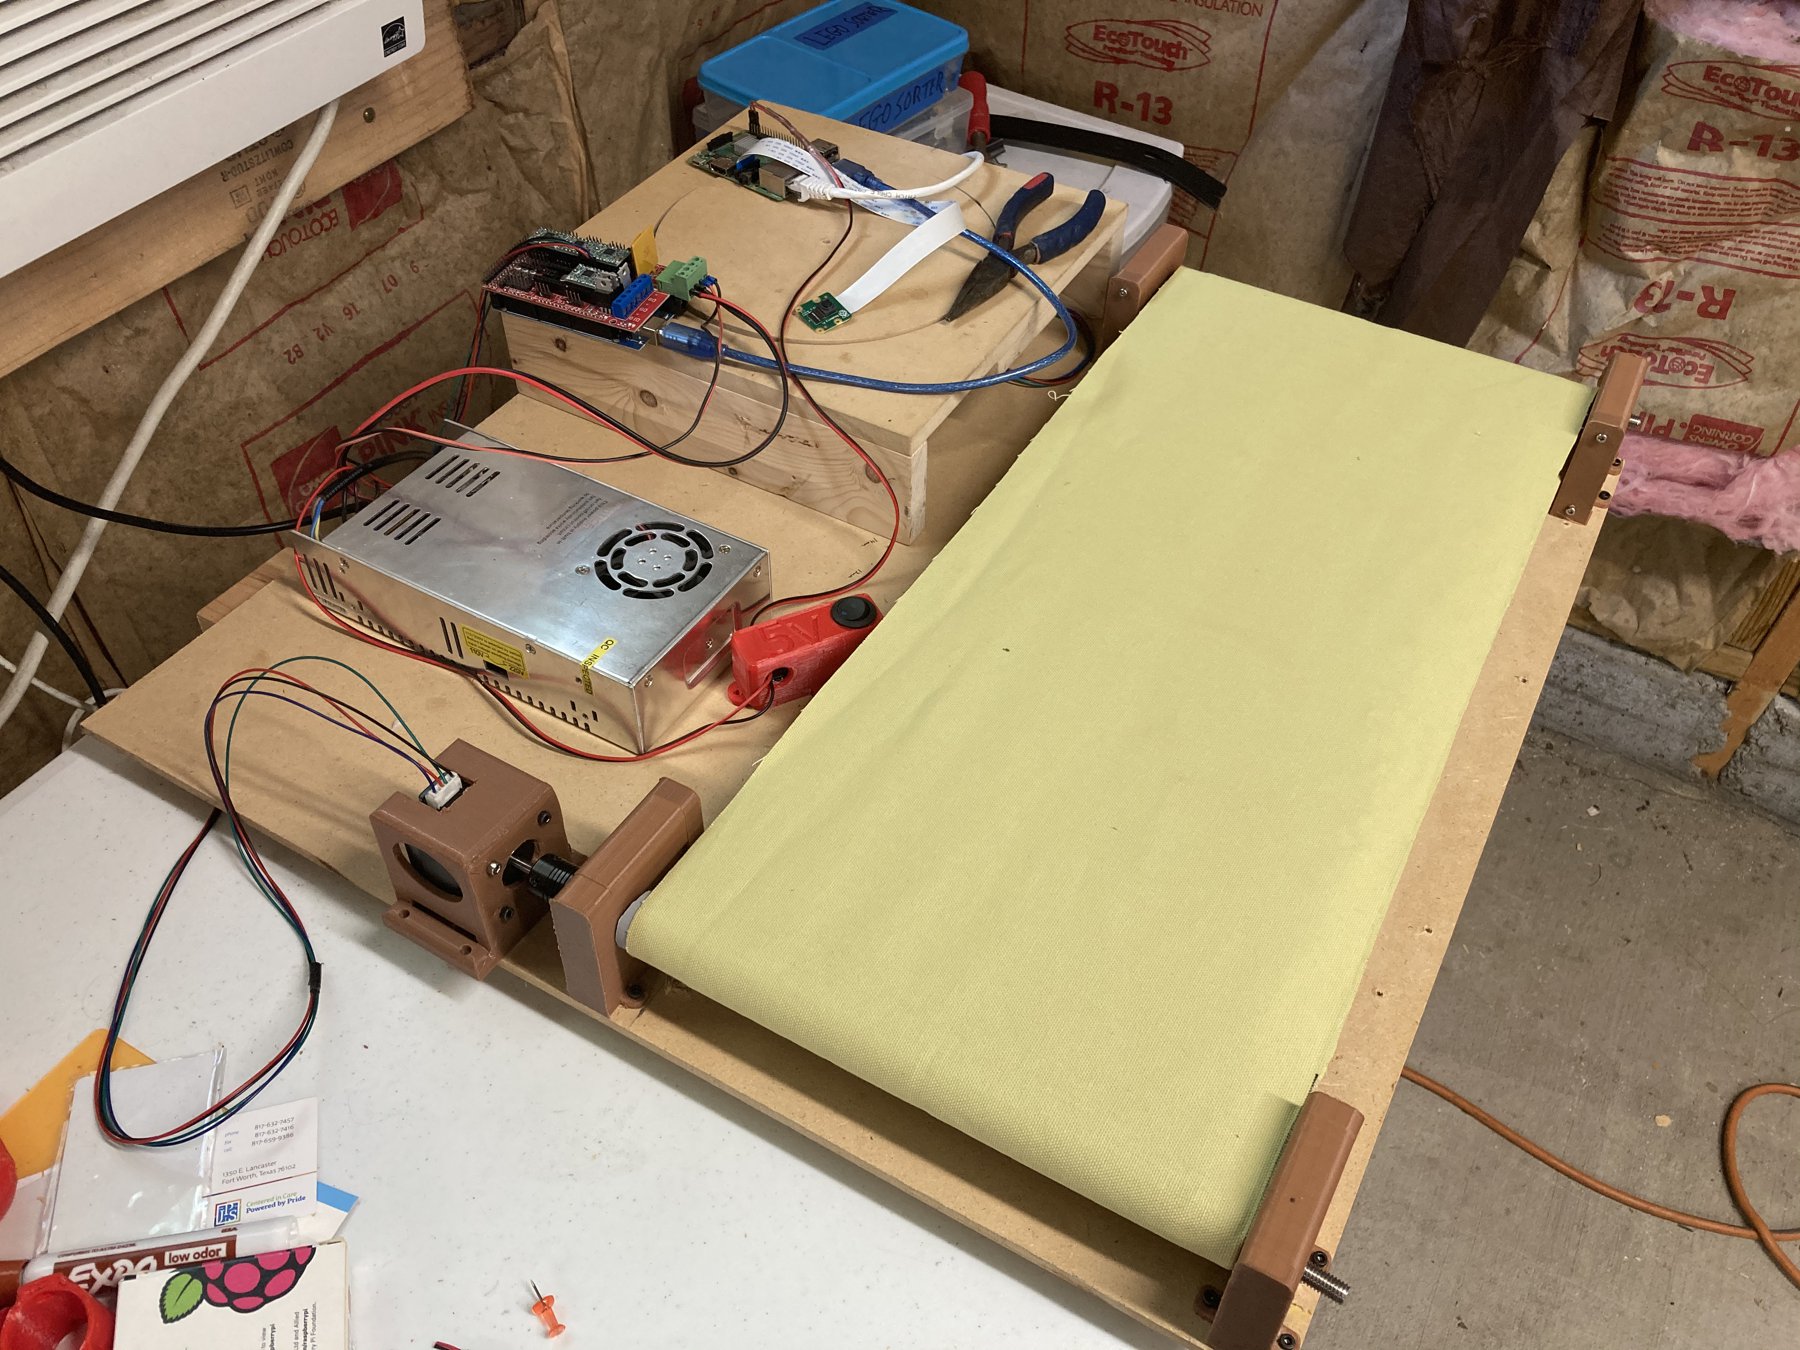
After a month and a half of failed attempts, I've eventually created a working prototype.

The system consists of 5 parts:
- Raspberry Pi
- Arduino Mega2560
- RAMPs 1.4 with A4988s
- Conveyor belt
- NEMA17 Stepper Motor and Mount
Covering all parts will be too much for one article, so in this article I'll focus on the setting up the environment and in a subsequent article I'll review the firmware, software, and physical build.
Remote VSCode (sshfs)
I hate trying to program on computers other than my workstation; I've also found it problematic to write a program for a Raspberry Pi on a PC. To get the best of both worlds I use
sshfs
. It lets me mount Raspberry Pi folders as local folder, enabling editing Raspberry Pi files from my workstation. Nice!

The setup is pretty simple, depending on your workstation's OS.
Luckily, DigitalOcean has already put together a multi-OS walkthrough of setting up
sshfs
Once you have
sshfs
setup, you can create a directory and mount the entire Raspberry Pi.
For me, running Linux Mint, it was:
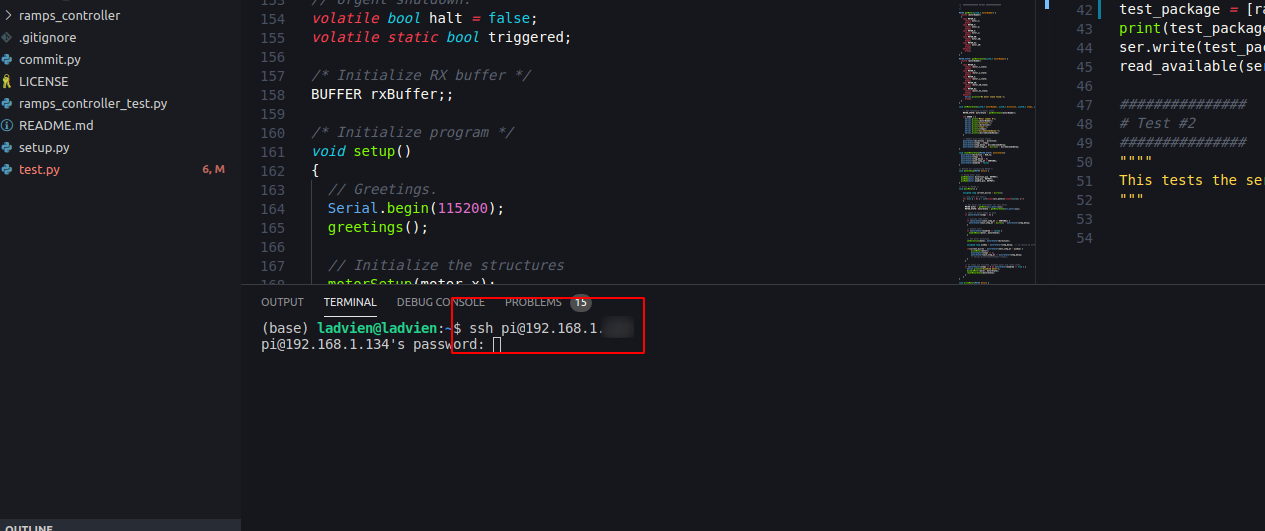
sshfs pi@192.168.1.x:/home/pi ~/rpi
A few notes on the above command:
* The
192.168.1.x
should be replaced with the
ip
of your Raspberry Pi
*
~/rpi
is the local directory where you are going to mount the Raspberry Pi.
If all goes well, you should be able to open your Raspberry Pi files in Visual Studio Code (or IDE of choice) by navigating to the
~/rpi
directory.
To run files, you still have to
ssh
into the Pi. I usually do this by creating an integrated terminal in Visual Studio Code.

Arduino CLI Setup
Now I had a way to edit Raspberry Pi files on my PC, but I still needed to be able to connect my Arduino to the Pi and program it from my workstation. The route people seem to use for remote programming is using a VNC program, like RealVNC, to access the Pi's desktop remotely. Gross. Give my command line back.
Enter Arduino's command line interface (CLI) .
Now I had all the needed pieces to make for comfortable coding: * Code the Pi from my workstation using VSCode * Any software written would be native to the Pi's ARM core * I could upload new firmware from the Raspberry Pi to the Arduino; enabling quick iterations
I was pretty excited. I just need to put the pieces together.
Python Convenience Scripts
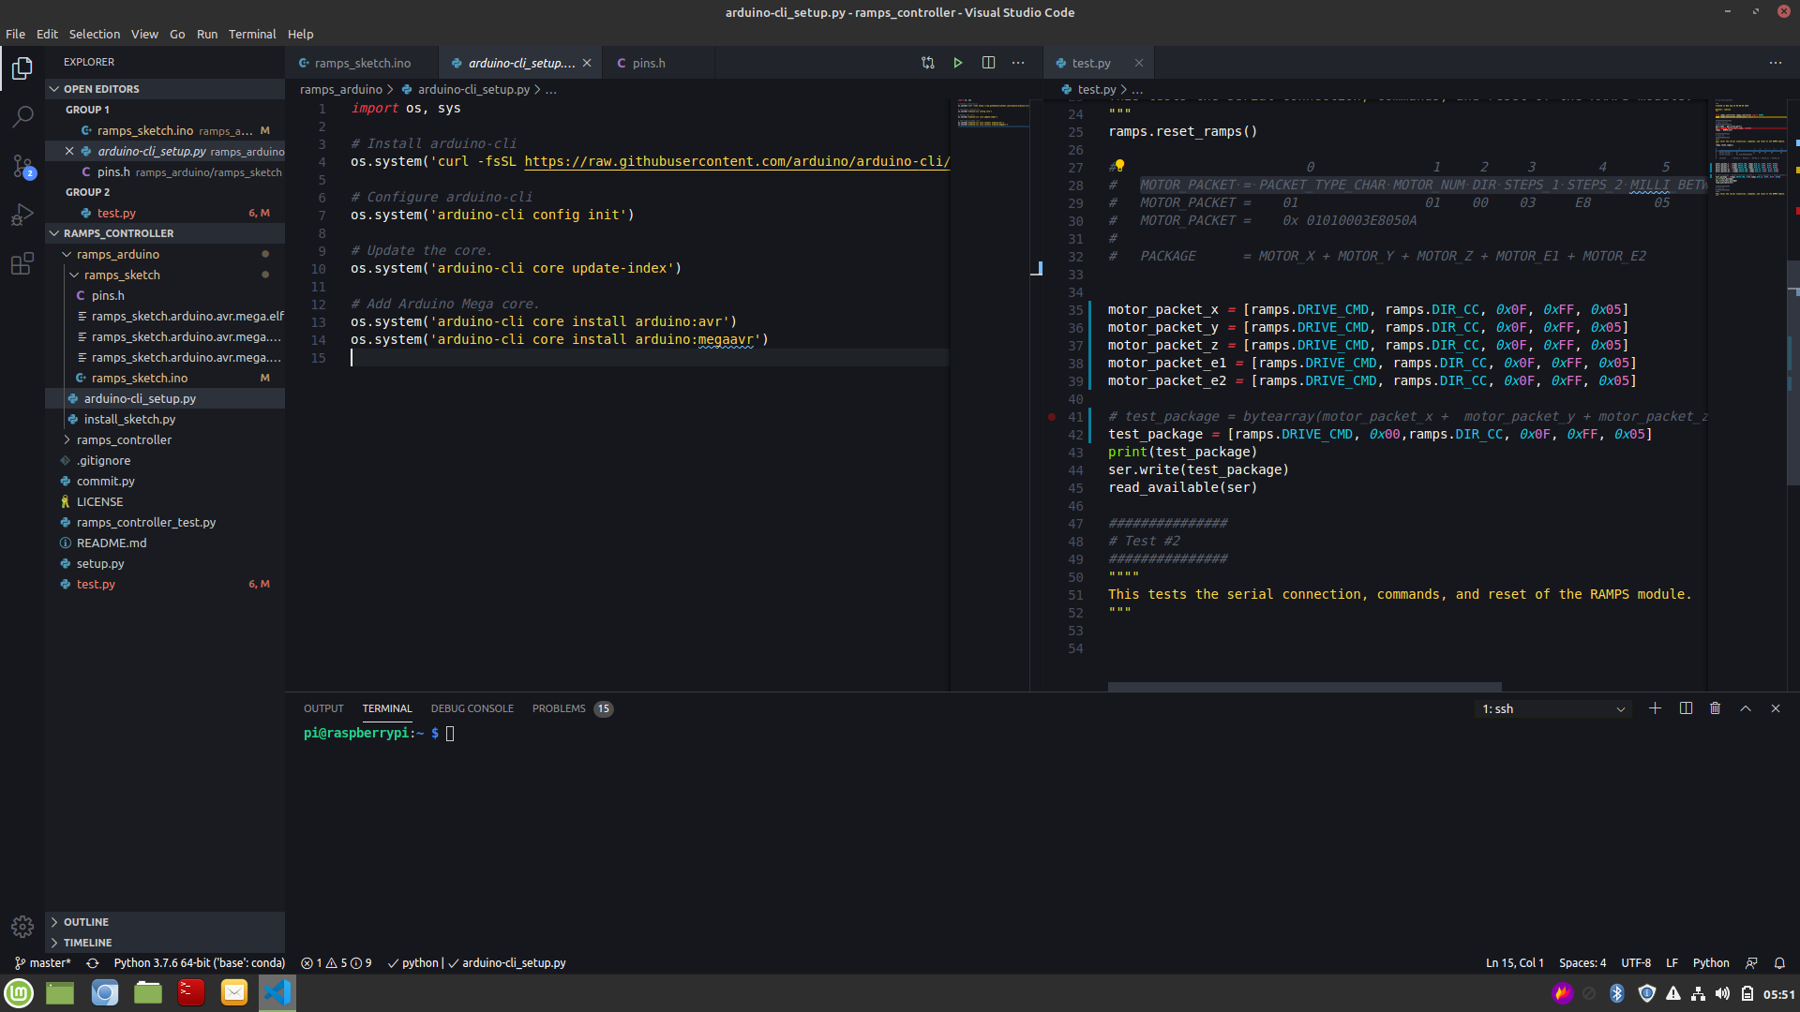
First, I had to get the Arduino CLI running on the Raspberry Pi. That turned out pretty painless. In fact, I turned the installation into a Python script for you.
Script for Installing Arduino CLI
You can download my entire setup using
git
. From your Raspberry Pi's command line run:
git clone https://github.com/ladvien/ramps_controller.git
cd ramps_controller
python3 arduino-cli_setup.py
Or if you prefer to add it to your own Python script:
#
import os, sys

# Install arduino-cli
os.system('curl -fsSL https://raw.githubusercontent.com/arduino/arduino-cli/master/install.sh | BINDIR=/bin sh')

# Configure arduino-cli
os.system('arduino-cli config init')

# Update the core.
os.system('arduino-cli core update-index')

# Add Arduino AVR and Mega cores.
os.system('arduino-cli core install arduino:avr')
os.system('arduino-cli core install arduino:megaavr')
The installation script downloads the Arduino CLI and installs it. It then updates the Arduino core libraries. Lastly, it ensures the
AVR
and
Arduino Mega AVR
cores are installed as well.
Script for Uploading using Arduino CLI
You should now be set to compile and install new firmware directly from the Raspberry Pi to the Arduino Mega2560. I've also created a firmware installation script, which eases installing new code.
python3 install_sketch.py
At the root of the install script are an Arduino CLI command to compile and then upload:
# Compile
os.system('arduino-cli compile -b arduino:avr:mega ramps_sketch')

# Upload
command_str = f'arduino-cli -v upload -p {write_port} --fqbn arduino:avr:mega ramps_sketch'
os.system(command_str)
Feel free to hack the script for other projects. You can replace the
arduino:avr:mega
with other chipsets and program tons of different devices using the same method. And the
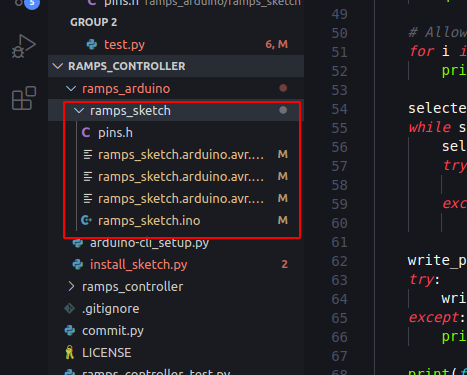
ramps_sketch
refers to the program you want to upload. It is a folder containing and
.ino
file of the same name, which is the program you want to upload to the Arduino

Here's an action shot:
A couple of notes, if you have trouble running the install script here are two issues I ran into:
pyserial
The install script uses Python to lookup what USB-serial bridges you have attached to your Pi. This Python relies on the pyserial package. Make sure it is installed using:
pip install pyserial
Access to USB
For the install script to work correctly, the executing user must have access to the USB-serial devices. This is known as the
dialout
group. The right way of doing this is by adding the permission to the user.
sudo adduser $USER dialout
If this fails, you can use the "wrong" way and just execute the
./install.py
script using
sudo
.
python3 install_sketch.py
Ok, that's it for now. I'll tackle the firmware next.
I've you have any trouble with the code, or have questions, just leave a comment below.
