This article is part of a series.
View all 7 parts
- Part 1 – This Article
- Part 2 – Setup i2c on Raspberry Pi Zero W using Arch Linux
- Part 3 – Setup NodeJS Project Space on Raspberry Pi Zero W
- Part 4 – Porting DRV8830 I2C Motor Driver Code to NodeJS
- Part 5 – Editing Raspberry Pi Code Remotely from Visual Studio Code
- Part 6 – 1B1 Robot
- Part 7 – Google Vision API using Raspberry Pi and Node
Disclaimer: The easiest way to setup an SD card with Arch Linux for the Raspberry Pi Zero W (rp0w) is using Linux--and the following guide will assume you have access to Linux somewhere. For Mac and Windows users, it is possible to setup an SD card using Linux inside of a virtual machine. The interwebs will have more on the subject.
The hardest part of setting up Arch Linux for the rp0w is getting the WiFi working on boot. This allows accessing the OS through ssh immediately. This is known as a "headless setup." I've created instructions on doing something similar in Kali. However, I was lucky when I hit Arch--as there is a fine fellow who has already written a script to setup the WPA Supplicant needed for a headless build.
1. Create an SD Card by following the Arch Linux instructions
Really, the only piece of information not provided by Arch Linux community is which ARM architecture you need for the rp0w. It's armv6.
A few notes on using the installation instructions.
* I had to run most of the commands as root (sudo)
* We are going to insert a step afte the SD card is setup and before we boot our rp0w
*
MOST IMPORTANT NOTE
: If you accidently select a different device instead of your SD card bad poop will happen. For real. To know which device is your card make heavy use of
fdisk -l
which will provide a list of all devices. Your SD card is approximately the same size as the card states. For example, this is the output I get when I run
fdisk -l
on my PC with the SD card in.
I/O size (minimum/optimal): 4096 bytes / 4096 bytes
Disklabel type: gpt

Device         Start       End   Sectors   Size Type
/dev/sda1         40    409639    409600   200M EFI S
/dev/sda2     409640 578929663 578520024 275.9G unkno
/dev/sda3  578929664 586480023   7550360   3.6G Micro
/dev/sda4  586480024 586742167    262144   128M Apple
/dev/sda5  586743808 976842751 390098944   186G Linux
/dev/sda6  976842880 977105023    262144   128M Apple

Mounting
Unmounting
Cleaning up

Disk /dev/sdb: 7.5 GiB, 8053063680 bytes, 15728640 sectors
Units: sectors of 1 * 512 = 512 bytes
Sector size (logical/physical): 512 bytes / 512 bytes
I/O size (minimum/optimal): 512 bytes / 512 bytes
Disklabel type: dos
Disk identifier: 0xd0ca12f8

Device     Boot  Start      End  Sectors  Size Id Type
/dev/sdb1         2048   206847   204800  100M  c W95
/dev/sdb2       206848 15728639 15521792  7.4G 83 Linu
So, the main device path for my SD card is
/dev/sdb
. And to the first partition it's
/dev/sdb1
2. Create Script to Enable WiFi on Boot
We are going to need to create a script on the Linux OS you used to setup the SD card. This script will access the rp0w's Arch Linux files and inject our WiFi information. This will allow the rp0w to automatically connect to your WiFi router when it boots, thus, giving you immediate access to it via SSH.
At the command prompt (of your PC, not the rp0w)
nano al-wpa-setup.sh
This will open a blank nano editor. Inside, paste the following, then save the file.
#!/bin/sh

set -e

if [[ $# -ne 3 ]] ; then
   echo "Usage: $0 </dev/disk> <ssid> <passphase>"
   exit 1
fi

DISK="$1"
SSID="$2"
PASS="$3"

if [[ ! -b "${DISK}" ]] ; then
   echo "Not a block device: ${DISK}"
   exit 1
fi

if [[ "${USER}" != "root" ]] ; then
   echo "Must run as root."
   exit 1
fi

echo Mounting
mkdir root
mount "${DISK}2" root

cat << EOF >> root/etc/systemd/network/wlan0.network
[Match]
Name=wlan0

[Network]
DHCP=yes
EOF

wpa_passphrase "${SSID}" "${PASS}" > root/etc/wpa_supplicant/wpa_supplicant-wlan0.conf

ln -s \
   /usr/lib/systemd/system/wpa_supplicant@.service \
   root/etc/systemd/system/multi-user.target.wants/wpa_supplicant@wlan0.service

echo Unmounting
umount root

echo Cleaning up
rmdir root
For those curious or wary, this script takes three parameters
- The location of SD card in the PC's device tree
- SSID of your WiFi router
- Password for the WiFi router
It then mounts the SD card, accesses the files needed to setup WiFi, and inserts the connection information appropriately.
Thanks again, Stasiana.
Let's keep going.
Before we can run the script it must be given executable permissions.
chmod +x al-wpa-setup.sh
Note: If you execute the script in the same path as where you built the SD card then the script will complain
mkdir: cannot create directory ‘root’: File exists
That's because the Arch Linux instructions didn't mention removing the SD card paths.
To delete the paths
root
and
boot
which were required for setup run (make sure your not in the
/
path first).
sudo rm -R boot root
Now, let's execute it, passing
/dev/sdX
,
your_wifi_name
, and
your_wifi_password
. Like so.
./al-wpa-setup.sh /dev/sdb wifi_name wifi_password
If all goes well, you should see.
Mounting
Unmounting
Cleaning up
Anything else, leave me a comment and I'll help troubleshoot.
3. Connecting
Ok! That's it. Now, put the SD card into the rp0w and fire it up. The green light should begin flashing.
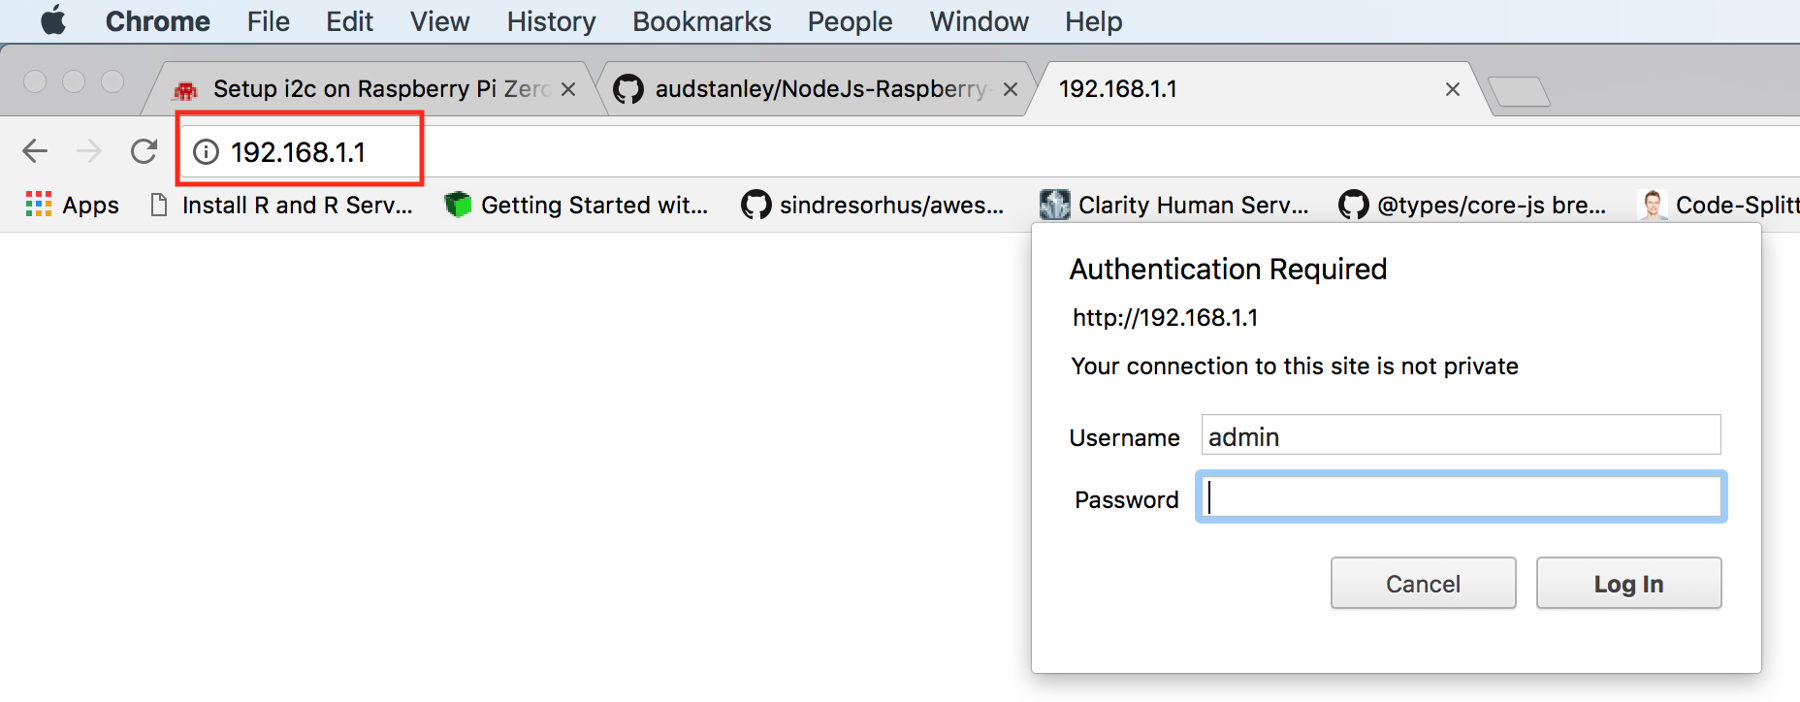
The last tricky part is knowing what IP address has been assigned to the rp0w on boot. After waiting a few minutes for it to connect to the wifi, visit your router's admin page. It's usually 192.168.1.1 .

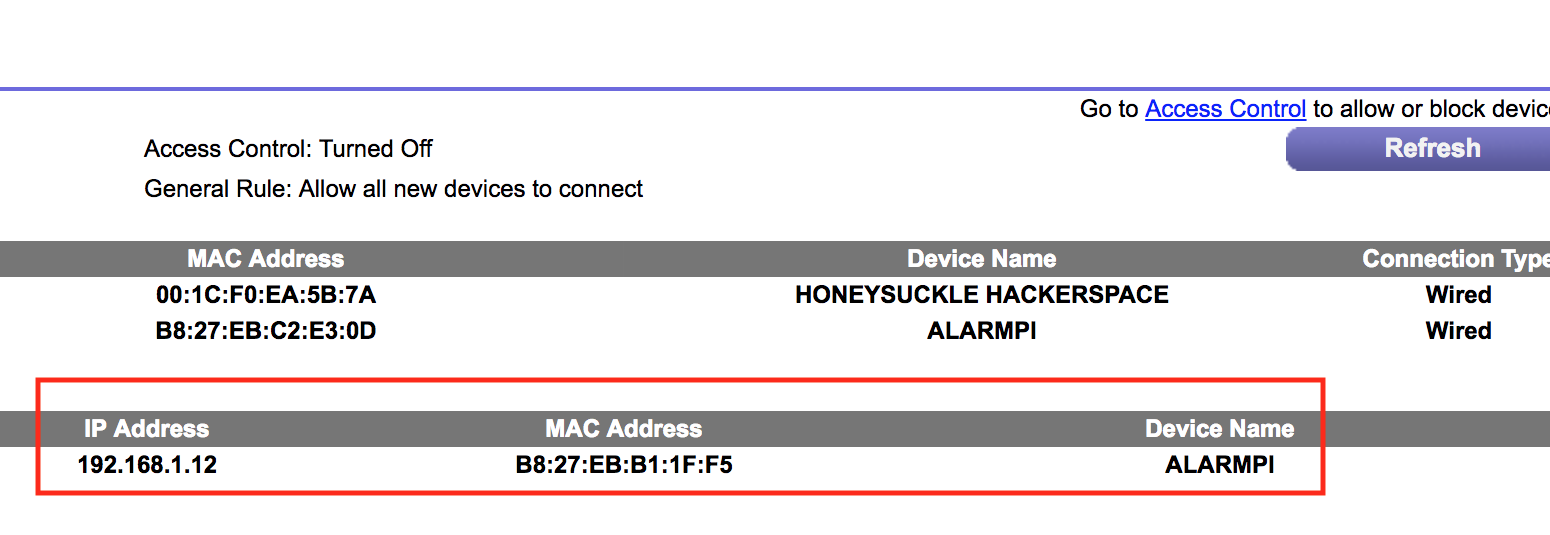
You'll need the router login information. But once in there should ba a section like "Attached Devices". In there you should see an entry for "alarm" (which stands for Arch Linux ARM). This your rp0w.

Now, at the command line type:
ssh alarm@192.168.1.xxx
Replacing the
x
s with the address of your Raspberry Pi. If you don't know the address of the Raspberry Pi you can log into router and look for
ALARMPI
.
Where the xxx is the address assigned to the Pi. You should be prompted with an EDSCA warning (say yes). Then, you will need to enter the password which is
alarm
.
Welcome to Arch Linux ARM

     Website: http://archlinuxarm.org
       Forum: http://archlinuxarm.org/forum
         IRC: #archlinux-arm on irc.Freenode.net
Last login: Thu Apr 12 12:18:05 2018 from 192.168.1.5
[alarm@alarmpi ~]$
Happy Arching.
