This article is part of a series.
View all 3 parts
- Part 1 – Recording Brain Waves to MongoDB
- Part 2 – Recording Brain Waves -- iOS SDK Setup
- Part 3 – This Article
Saving Brain Waves to Remote MongoDB by way of Node REST API
In this section I'm going to focus getting a remote Linux server setup with MongoDB and NodeJS. This will allow us to make POST requests to our Linux server, saving the EEG data.
I'm going to assume you are able to SSH into your Ubuntu 16 LTS server for this guide. You don't have a server? No sweat. I wrote a guide on setting up a blog post which explains how to get a cheap Linux server setup.
1. Install MongoDB
SSH into your server. I'm assume this is a fresh new Linux install. Let's start with upgrading the packages.
sudo apt-get update -y
I'll be following the Mongo website for instructions on installing MonogoDB Community version on Ubuntu.
Let's get started. Add the Debian package key.
sudo apt-key adv --keyserver hkp://keyserver.ubuntu.com:80 --recv 9DA31620334BD75D9DCB49F368818C72E52529D4
We need to create a list file.
echo "deb [ arch=amd64,arm64 ] https://repo.mongodb.org/apt/ubuntu xenial/mongodb-org/4.0 multiverse" | sudo tee /etc/apt/sources.list.d/mongodb-org-4.0.list
Now reload the database
sudo apt-get update
If you try to update and run into this error
E: The method driver /usr/lib/apt/methods/https could not be found.
N: Is the package apt-transport-https installed?
E: Failed to fetch https://repo.mongodb.org/apt/ubuntu/dists/xenial/mongodb-org/4.0/InRelease
E: Some index files failed to download. They have been ignored, or old ones used instead.
Then install
apt-transport-https
sudo apt-get install apt-transport-https
Now, let's install MongoDB.
sudo apt-get install -y mongodb-org
Voila!
2. Setup MongoDB
We still need to do a bit of setup. First, let's check and make sure Mongo is fully installed.
sudo service mongod start
This starts the MongoDB daemon, the program which runs in the background and waits for someone to make connection with the database.
Speaking of which, let's try to connect to the database
mongo
You should get the following:
root@localhost:~# mongo
MongoDB shell version v4.0.2
connecting to: mongodb://127.0.0.1:27017
MongoDB server version: 4.0.2
Welcome to the MongoDB shell.
For interactive help, type "help".
For more comprehensive documentation, see
    http://docs.mongodb.org/
Questions? Try the support group
    http://groups.google.com/group/mongodb-user
Server has startup warnings:
2018-09-02T03:52:18.996+0000 I STORAGE  [initandlisten]
2018-09-02T03:52:18.996+0000 I STORAGE  [initandlisten] ** WARNING: Using the XFS filesystem is strongly recommended with the WiredTiger storage engine
2018-09-02T03:52:18.996+0000 I STORAGE  [initandlisten] **          See http://dochub.mongodb.org/core/prodnotes-filesystem
2018-09-02T03:52:19.820+0000 I CONTROL  [initandlisten]
2018-09-02T03:52:19.820+0000 I CONTROL  [initandlisten] ** WARNING: Access control is not enabled for the database.
2018-09-02T03:52:19.820+0000 I CONTROL  [initandlisten] **          Read and write access to data and configuration is unrestricted.
2018-09-02T03:52:19.820+0000 I CONTROL  [initandlisten]
---
Enable MongoDB's free cloud-based monitoring service, which will then receive and display
metrics about your deployment (disk utilization, CPU, operation statistics, etc).

The monitoring data will be available on a MongoDB website with a unique URL accessible to you
and anyone you share the URL with. MongoDB may use this information to make product
improvements and to suggest MongoDB products and deployment options to you.

To enable free monitoring, run the following command: db.enableFreeMonitoring()
To permanently disable this reminder, run the following command: db.disableFreeMonitoring()
---
>
This is good. It means Mongo is up and running. Notice, it is listening on
127.0.0.1:27017
. If you try to access the database from any network, other than locally, it will refuse. The plan, to have NodeJS connect to the MongoDB database locally. Then, will send all of our data to Node and let it handle security.
In the Mongo command line type:
quit()
And hit enter. This should bring you back to the Linux command prompt.
A few notes on
MongoDB
on Ubuntu.
-
The congfiguration file is located at
/etc/mongod.conf -
Log file is at
/var/log/mongodb/mongod.log -
The database is stored at
/var/lib/mongodb, but this can be changed in the config file.
Oh, and one last bit. Still at the Linux command prompt type:
sudo systemctl enable mongod
You should get back
Created symlink from /etc/systemd/system/multi-user.target.wants/mongod.service to /lib/systemd/system/mongod.service.
This setup a symlink which will cause Linux to load mongod every time it boots--you won't need to manually start it.
Next, NodeJS.
3. Install NodeJS and npm
Type
sudo apt-get install nodejs -y
This should install
NodeJS
, but we also need the Node Package Managers
npm
.
sudo apt-get install npm -y
Let's upgrade
npm
. This is important, as the
mind-wave-journal-server
depends on recent versions of several packages that are not accessible to earlier versions of
npm
.
The following commands should prepare
npm
for upgrading, then upgrade.
sudo npm cache clean -f
sudo npm install -g n
sudo n stable
sudo n latest
Let's reboot the server to make sure all of the upgrades are in place.
sudo reboot now
When the server boots back up,
ssh
back in.
Check and make sure your
mongod
is still running
mongo
If
mongo
doesn't start, then revisit step 2.
Let's check our
node
and
npm
versions.
node -v
I'm running
node
v10.9.0
npm -v
I'm running
npm
v6.2.0
4. Clone, Install, and Run the mind-wave-journal-server
I've already created a basic Node project, which we'll be able to grab from my Github account.
If you don't already have git installed, let's do it now.
sudo apt-get install git -y
Now, grab the Noder server I built.
git clone https://github.com/Ladvien/mind-wave-journal-server.git
cd mind-wave-journal-server/
Install all the needed Node packages.
npm install
This should download all the packages needed to run the little server program I wrote to store the EEG data into the Mongo database.
Let's run the
mind-wave-journal-server
.
node server/server.js
This should be followed with:
root@localhost:~/mind-wave-journal-server# node server/server.js
(node:1443) DeprecationWarning: current URL string parser is deprecated, and will be removed in a future version. To use the new parser, pass option { useNewUrlParser: true } to MongoClient.connect.
Started on port 8080
5. Testing mind-wave-journal-server with Postman
Now, we are going to use Postman to test our new API.
For this next part you'll need either a Mac or Chrome, as Postman has a native Mac app or a Chrome app.
I'm going to show the Chrome application.
Head over to the Chrome app store:
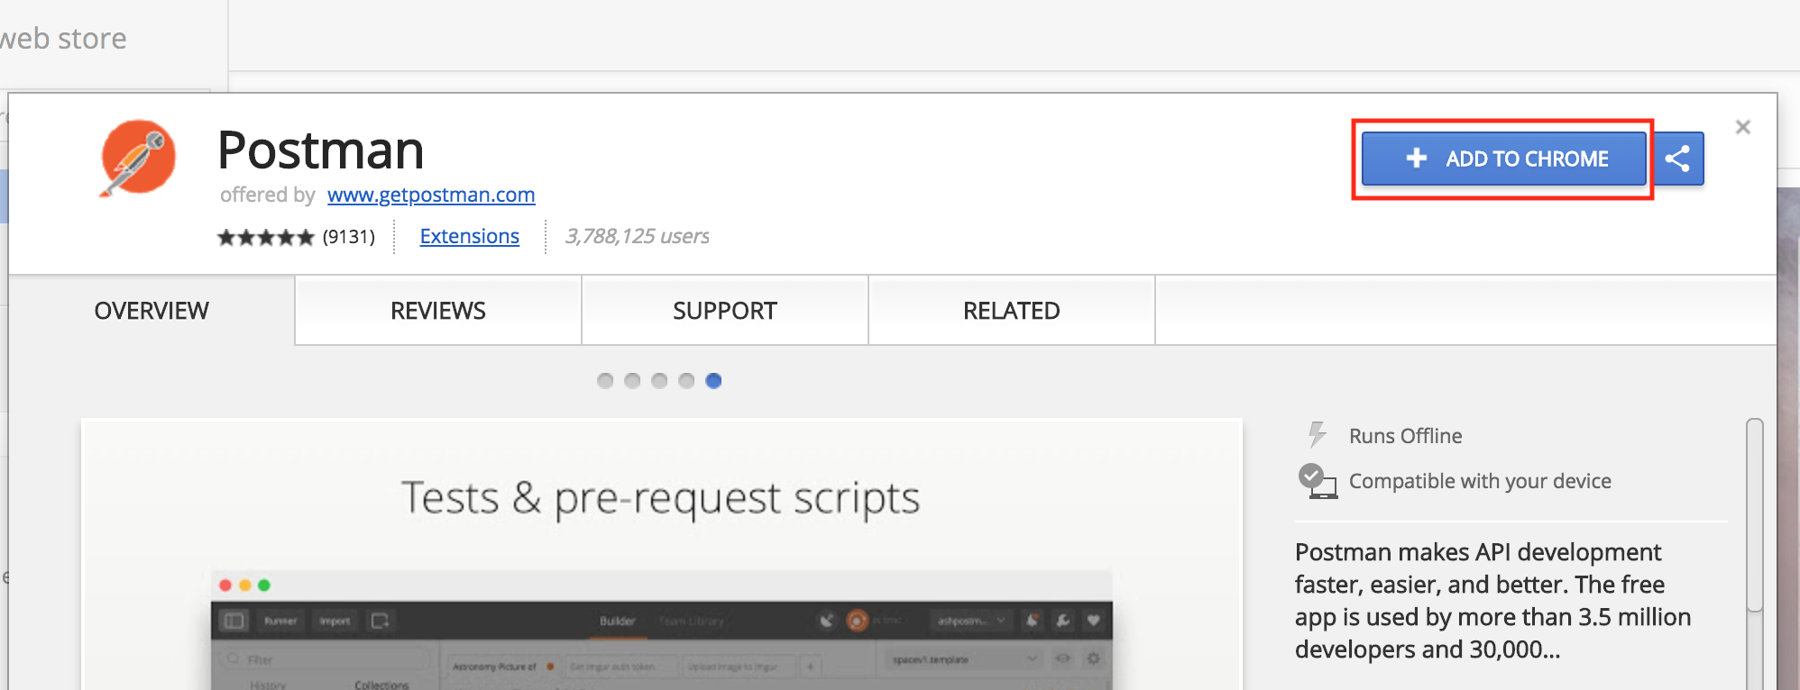
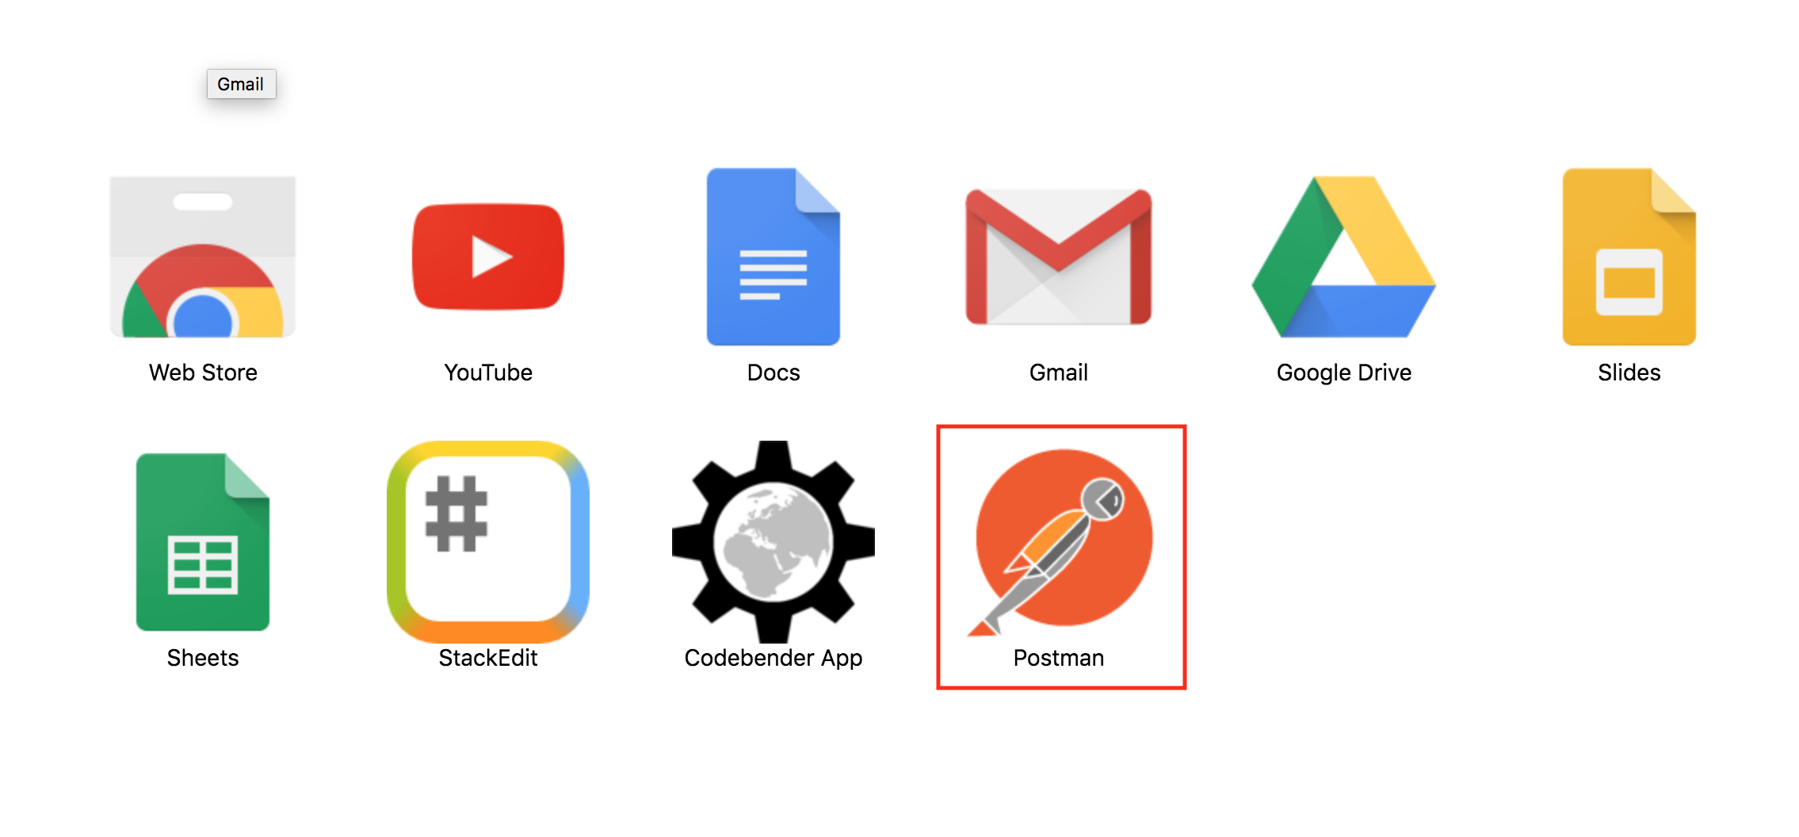
After you add the Postman app it should redirect you to your Chrome applications. Click on the Postman icon.
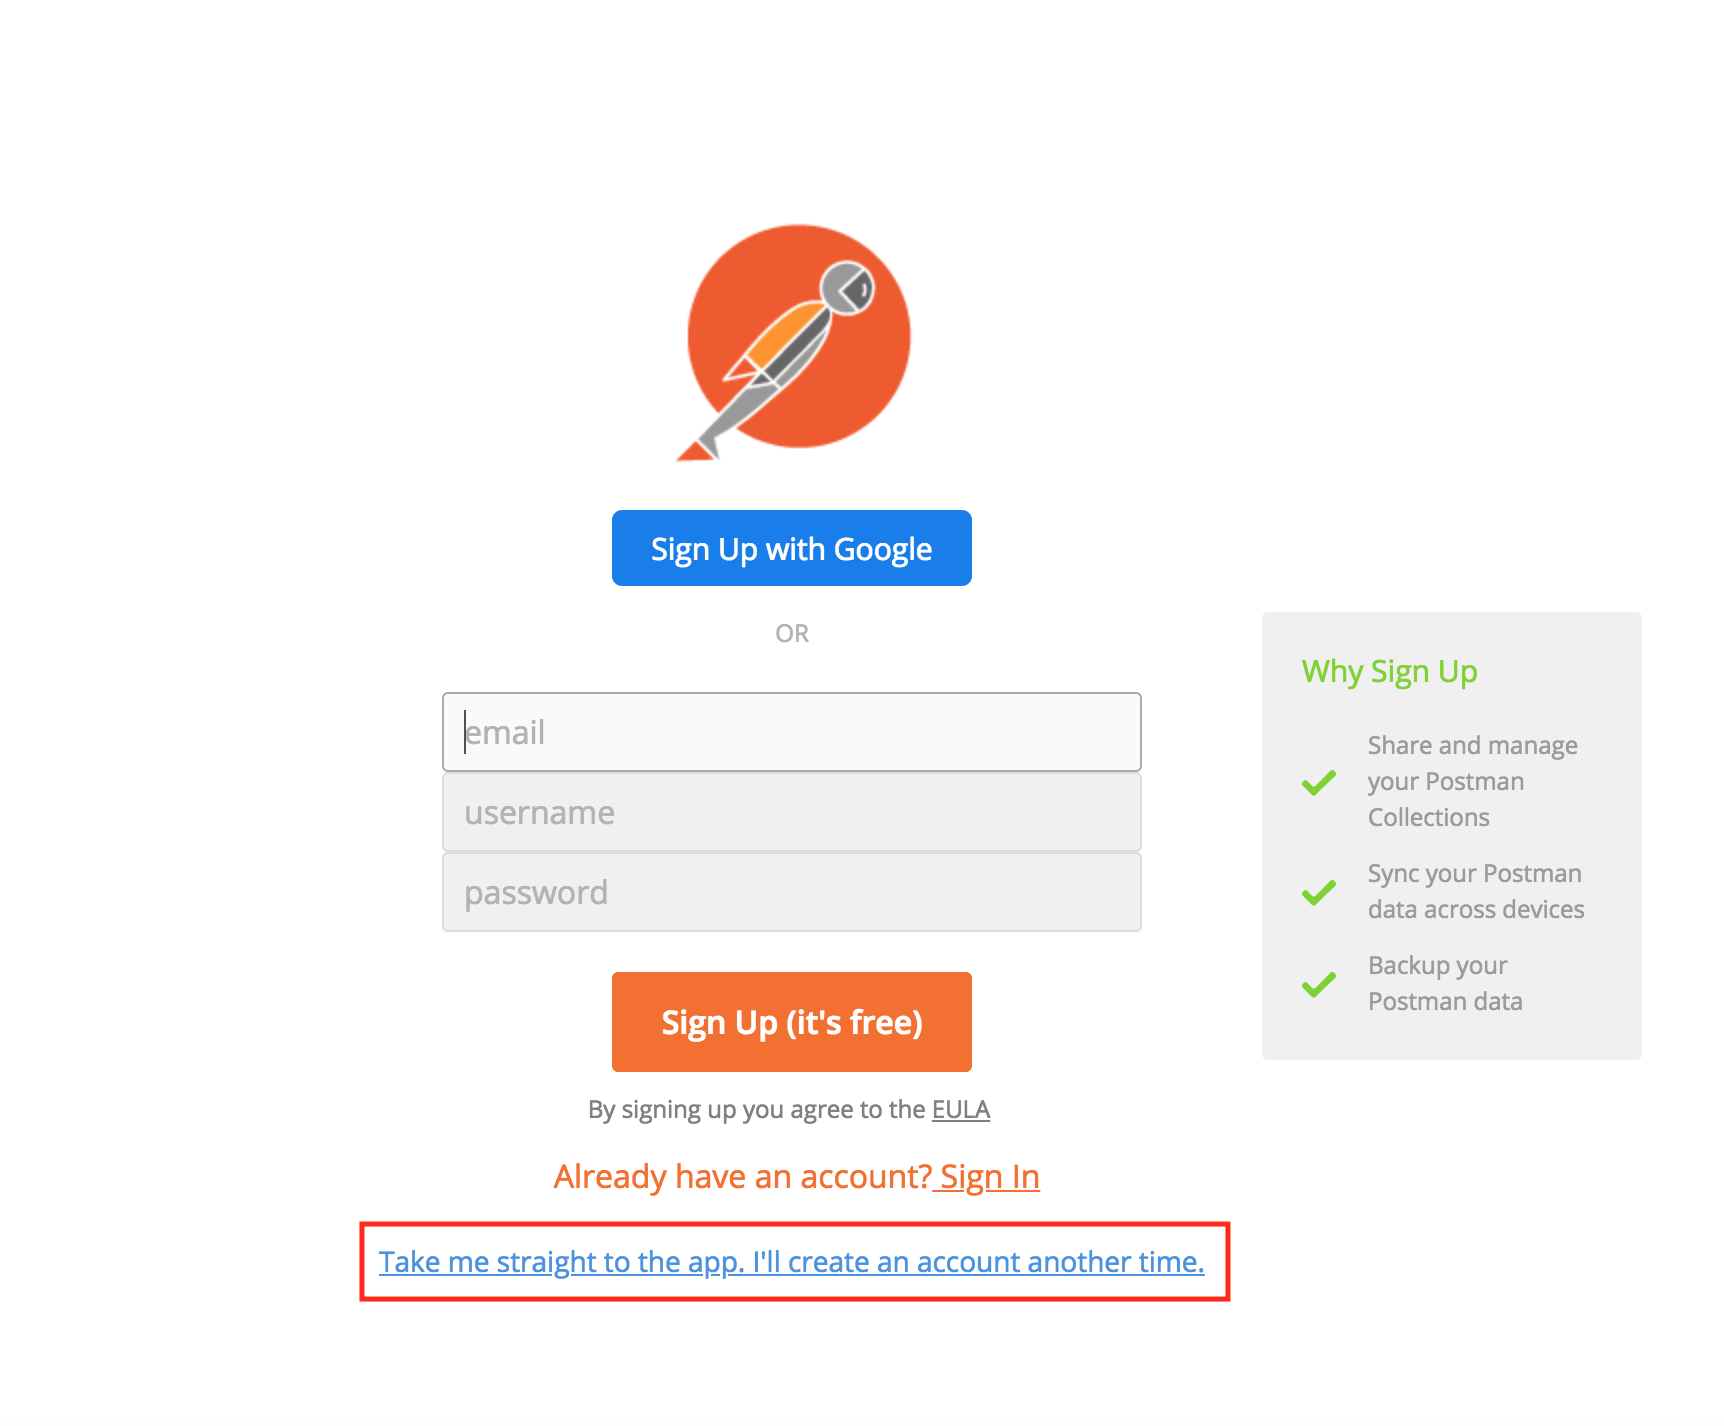
Your choice, but I skipped the sign-up option for now.
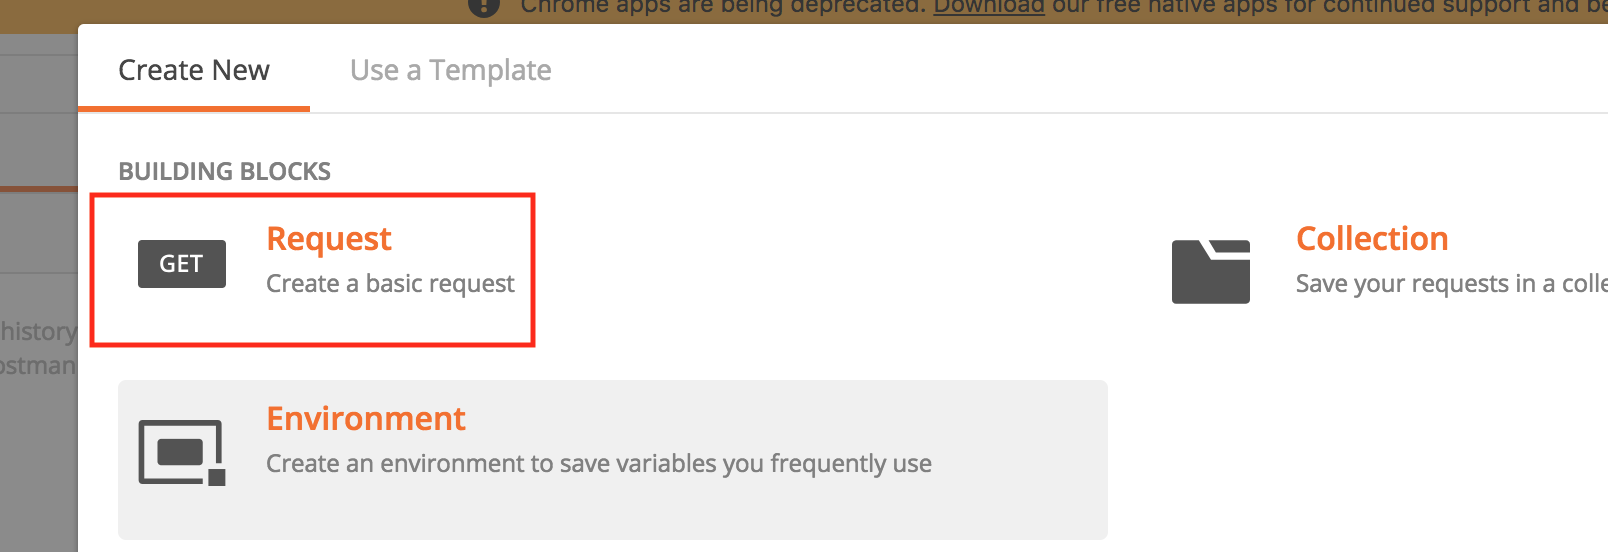
Select
Create a Request
The purpose of Postman, in a nutshell, we are going to use it to create POST requests and send them to the
mind-wave-journal-server
to make sure it's ready for the iOS app to start making POST requests, saving the EEG data to our Mongo server.
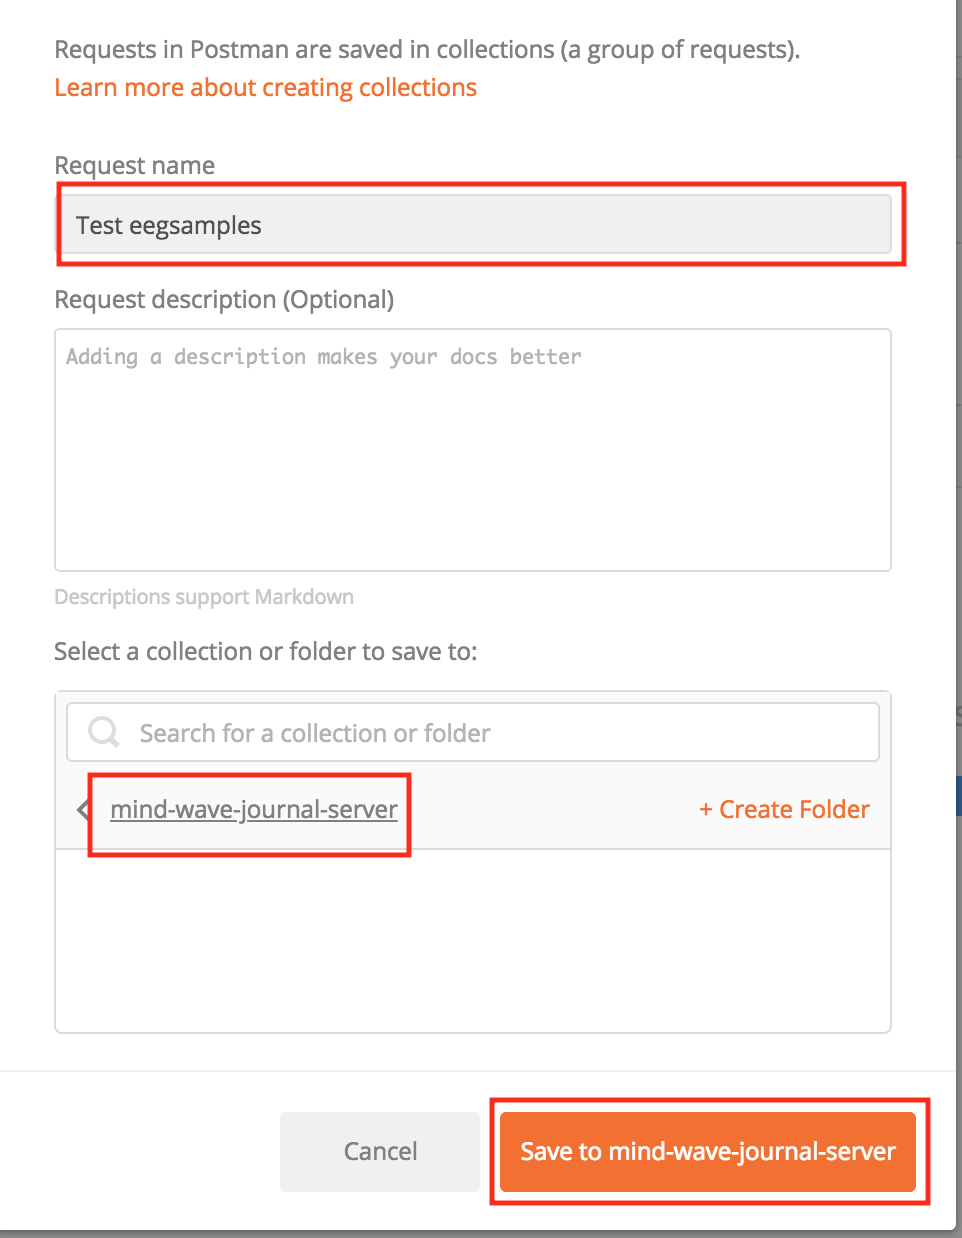
Let's create our first test POST request. Start by naming the request
Test eegsamples
. Create a folder to put the new request in, I named it
mind-wave-journal-server
. Then click
You will need to set the type as
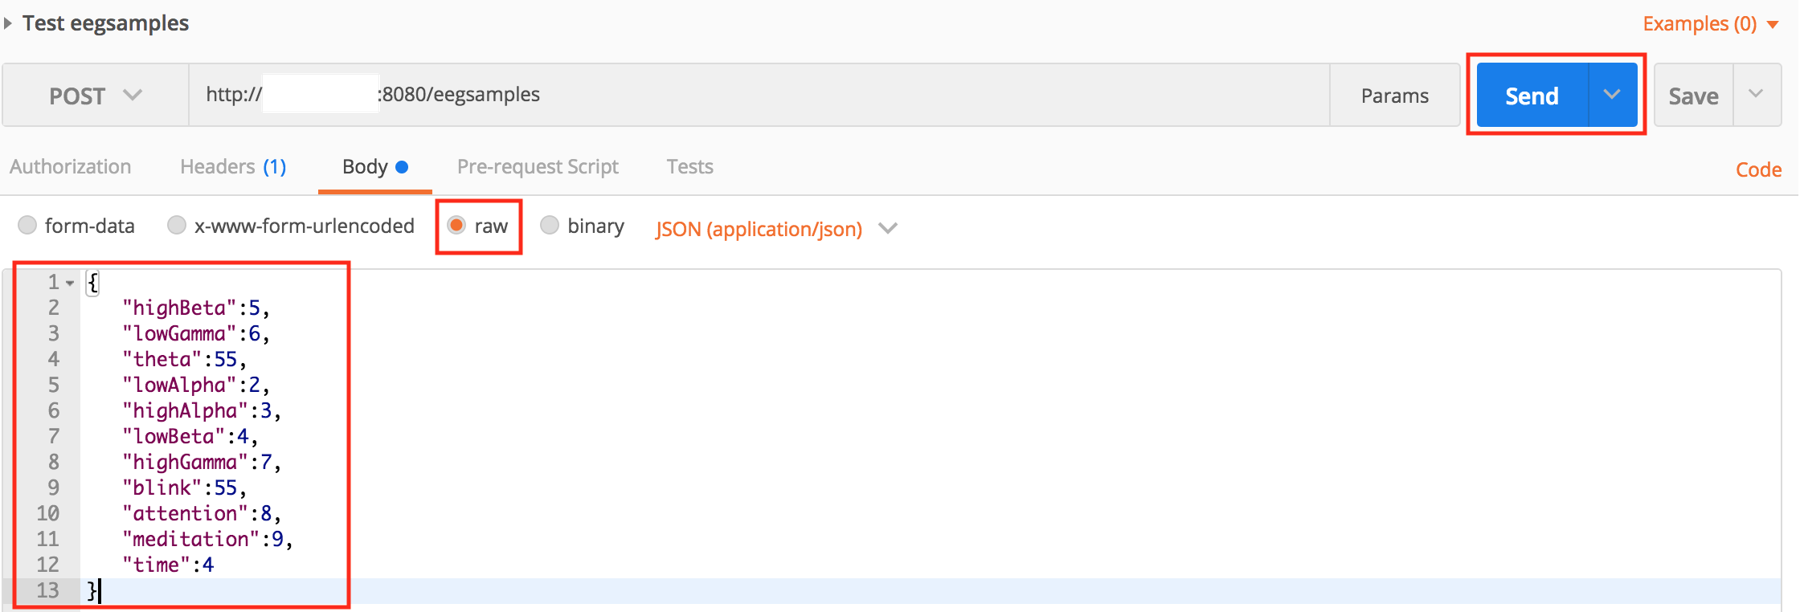
POST
. The url will be
http://your_ip_address:8080/eegsamples

No select the
Headers
section and add the
Content Type: application/json

Lastly, select
Body
, then
raw
and enter the following JSON into the text area:
{
   "highBeta":5,
   "lowGamma":6,
   "theta":55,
   "lowAlpha":2,
   "highAlpha":3,
   "lowBeta":4,
   "highGamma":7,
   "blink":55,
   "attention":8,
   "meditation":9,
   "time":4
}
And then! Hit
Send
If all goes well, then you should get a similar response in the Postman response section
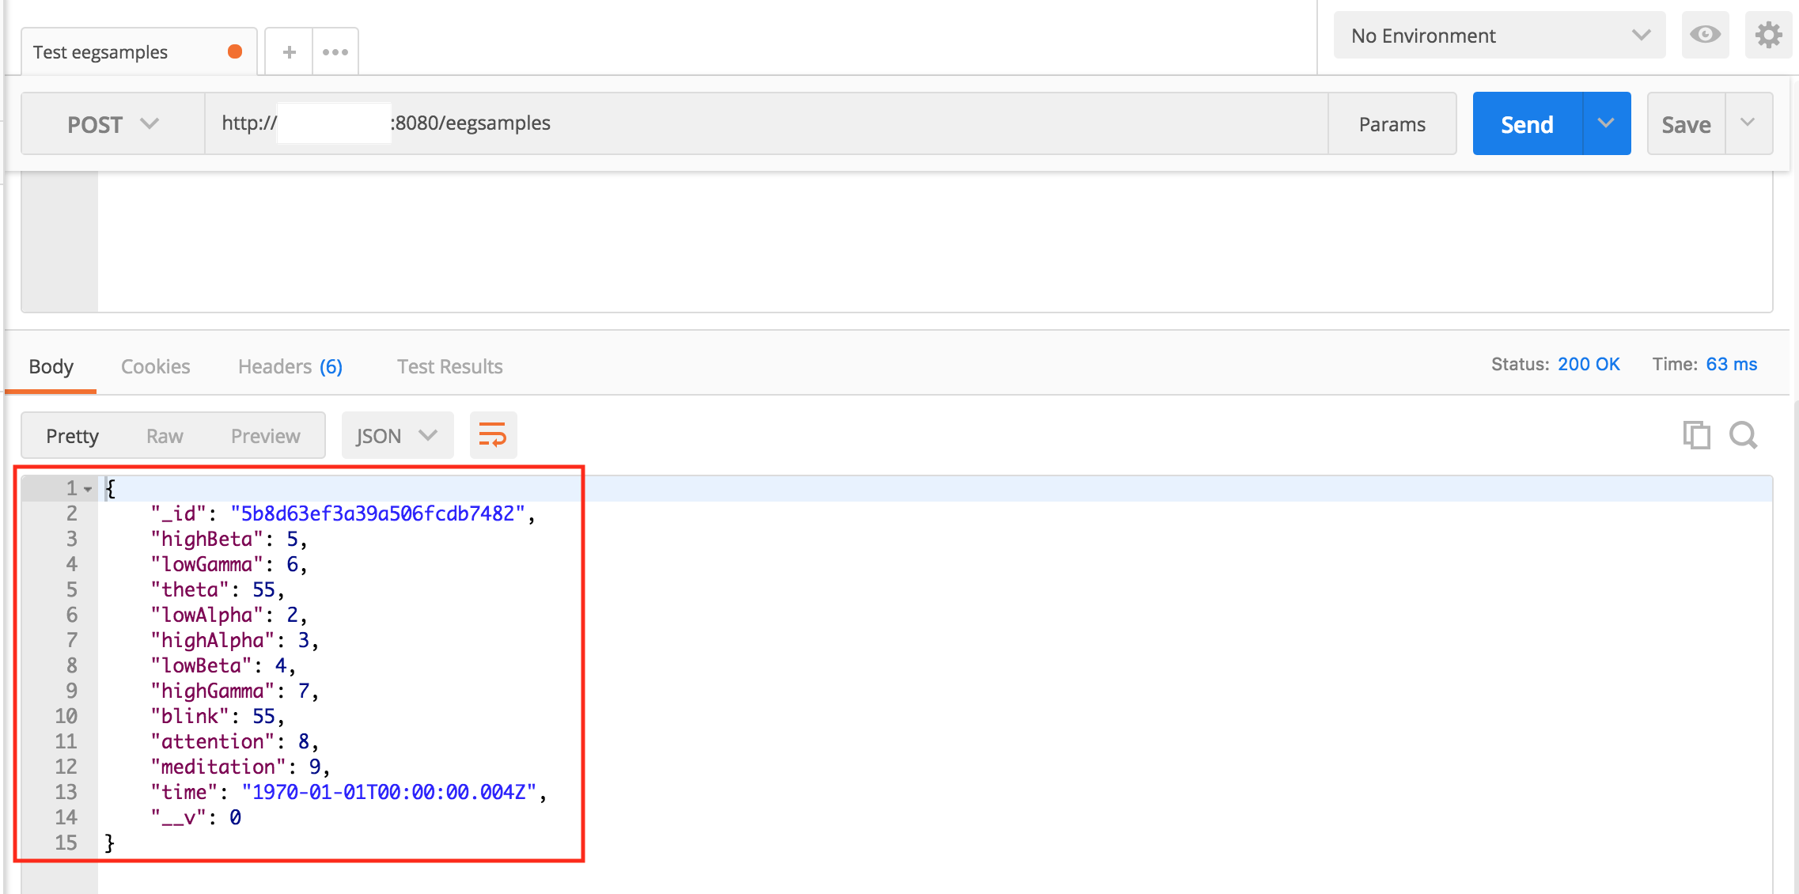
Notice, the response is similar to what we sent. However, there is the additional
_id
. This is great. It is the id assigned to the by MongoDB when the data is entered. In short, it means it successfully saved to the database.
6. Now What?
Several caveats.
First, each time you restart your server you will manually need to start your
mind-waver-journal-server
. You can turn it into a Linux service and
enable
it. If this interests anyone, let me know in the comments and I'll add it.
Second, notice I don't currently have a way to retrieve data from the MongDB. The easiest way will probably be using Robot 3T . Like the first caveat, if anyone is interested let me know and I'll add instructions. Otherwise, this series will stay on track to setup a Mongo BI connection to the database for viewing in Tableau (eh, gross).
Your Node server is ready to be called by the iOS app. In the next article I'll return to building the MindWaveJournal app in iOS.
