
This article is part of a series.
View all 1 parts
- Part 1 – This Article
I've used Jekyll to create my website. A lot of the heavy lifting was done by Michael Rose in the form of a Jekyll theme he created called Hpstr.
Much respect.
But, setup was pretty painful for me. I knew nothing about websites, let alone creating a static page website . I've decided to set my hand to journal a lot of the nuances I ran into. Try to save someone some time. Or, save myself some time when something goes wrong.
These articles will not be on CSS, JavaScript, or HTML. After tinkering with computers for 20 years, I still suck at CSS and HTML--no, there are much better resources on the matter.
I actually recommend spending $30 on the following Udemy courses. They are great courses and will get you everything you need to be competitive.
- Build Responsive Real World Websites with HTML5 and CSS3
- The Complete JavaScript Course 2018: Build Real Projects!
- Linux Mastery
(Note, make sure to get them on sale. Second note, they go on sale a lot.)
I'm not getting a kick back from Udemy, I list these courses because they are the ones I've taken and will vouch they are great courses to with this guide series.
1. Orientation
A lot of other articles will recommend setting up Jekyll locally, building your site to perfection, then get a rent a server when you have the time. I don't recommend going this route.
In one way it makes sense to get a feel for Jekyll before deploying. You aren't paying money while you learn. But, building a Jekyll site out locally, with all the bells and whistles, may cause a lot of problems deploying it. Was it the 5th gem or the 12th gem which is causing problems? No, I found it's better to go for broke and start building the site on the web.
To compare the work steps
| Common Workflow | My Workflow |
|---|---|
| Setup Jekyll Locally | Get Server |
| Deploy Site Locally | Setup Server |
| Refine | Setup Jekyll on Server |
| Deploy Site Locally | Setup Jekyll Locally |
| Refine | Deploy Site to Server |
| Deploy Site Locally | Refine |
| Get Server | Deploy Site to Server |
| Setup Server | Refine |
| Setup Jekyll on Server | Deploy Site to Server |
| Deploy Site to Server | Beer |
| Beer | Second Beer |
A couple of reasons I prefer my workflow.
First, the psychological payoff doesn't happen until the gross stuff is out of the way. Setting up the server side is tedious and can be boring. But, it is necessary for your site to be up and running on your own server. The payoff being when your site is available to your buddy in Maine who can see the friggin awesome site you've built.
If you put the kudos and warm fuzzies at the beginning, meaning, you deploy your site locally and tell yourself how great it looks, it robs you have the drive needed to trudge through the server side setup. Science!
Second, there are many different variables to account for between your local machine and the server. For example, if you are building Jekyll from a Windows machine and serving it on Ubuntu there can often be dependency differences which you must troubleshoot. Best to start doing it right away (see first point).
Ok, have I persuaded you? No? Then why are you still reading? Ha!
Also, the one thing you'll have setting up the server side I did not is this guide. I plan to setup a new site walking while writing these articles to assure this guide is relevant. But if I miss anything, I'm available to help in the comments. It makes my day to save someone some development time.
2. Choose a Server Provided
Ever rented a server before? I hadn't either.
Here is my tip sheet laden with my opinion.
a. Don't Go Flashy
I don't recommend going with a flashy name. E.g, GoDaddy, HostGator, etc. The general rule is, if they are pushy with their marketing they probably aren't a solid choice.
The two solid choices right now are * Digital Ocean * Linode
b. Go with Linux
Oh! And go with Linux!
I had a CEO one time who forced me to use Windows on our server. Man, it was a flop.
First, Windows back-ends aren't well documented on the web. They cost more. There are fewer free tools. You know what, let me just refer you to others' rants.
- Five Reasons Linux Beats Windows for Servers
- Linux Foundation finds enterprise Linux growing at Windows' expense
There is a reason 80% (circa 2014) of servers are deployed using Linux, jus' sayin'.
c. Go Small and Scale
If you go with Digital Ocean or Linode, they both have reasonable start servers, which can in turn be scaled. Meaning, you can pay more later for additional server resources without having to completely rebuild your server.
Ok! For this article I'm going to use Linode. I like them. They've who I started with and was extremely happy with their quality and reliability.
3. Get a Server
Head over to
And
Sign Up

Login, then go to
Add Linode
. Here select the smallest sized Linode as possible. When I started, the small servers were $5 a month--but it looks like they've gone up. My guess is, you can find them on sale occasionally.

You don't have to select the smallest--but I think it's plenty for a Jekyll blog.
Once you've selected the size of server, scroll to the bottom and select a location central to your audience. If there isn't one, then simply select the location closet to you.
Then select
Add this Linode!

Once you've added your Linode you will be re-directed to your Linodes dashboard
Notice, the
IP Address
is the IP address of your very first server! Waahoo!

It'll take it a second, but the status of your linode should change from
Being created
to
Brand new
, when it does, you will be ready for the fun!
6. Setup Linux
Let's get Linux setup on your machine. Click on the name of your Linode.

This should load the server dashboard for your server. Looking something like this.

Don't be alarmed. There is a lot going on here, but we are going to taker it one step at a time. Don't worry, I got you.
First, let's tell the computer which manages your server to install Linux on it. You can do this by going to
Deploy an Image

Beware ye Stackscripts!
A stackscript is a Linux script meant for a machine with newly installed Linux. The script tells the machine to do a bunch of automated setup work to prepare the machine for a particular task. In our case prepare our machine to be a server. I'm not going to show how to use them in this walkthrough. For a few reasons. We will learn more setting things up ourselves, and therefore, will be able to maintain it. Also, I've not found a stack which is specifically for Jekyll. Most of them have a lot of extra stuff we don't need.
Ok, back to work. Let's fill out our setup request

Be sure to save your password somewhere! Not a lot of ways to recover it. Once everything is selected hit
Deploy
Your server will quickly be formatted and a fresh copy of Ubuntu 16.04 LTS installed. Oh, and I've not mentioned
5. SSH
SSH stands for secure shell access. Shell being the command prompt environment which Linux is based. This is going to be our main way of interacting with the server. It may feel terse and inhumane, but I strongly encourage you to embrace the command line. If you do, the powers of Linux will be yours for free.
And besides, I'm writing this tutorial around it, so you kinda must to keep following along.
Ok, let's fire up your machine. Open up the Linode dashboard and click on your linode's name. At the top right there be a box called
Server Status
and it is probably
Powered Off
. Let's turn it on by hitting the
Boot
button.

Wait until the status below shows your linode has fully booted.
Now, I'm assuming you are using Linux or Mac as your local operating system. On either, open a terminal and type
ssh root@your.ip.number.here
And press enter.
You should see something along the lines
[ladvien@ladvien ladvien.github.io]$ ssh root@your.ip.number.here
The authenticity of host 'your.ip.number.here (your.ip.number.here)' can't be established.
ECDSA key fingerprint is SHA256:ee2BPBSeaZAFbVdpWFj1oHLxdPdGoxCaSRl3lu6u2Fc.
Are you sure you want to continue connecting (yes/no)?
Type
yes
and hit enter.
You will then be prompted to enter the password entered as the
root password
during the setup phase in the Linode Manager.
6. Nginx Setup
You are now on your server. Do you feel a bit like Mr. Robot? Live the feeling. And don't let anyone give you a hard time for being a shell noob. Embrace the shell.
I'm not going to go Linux stuff in detail. Please refer to more in depth tutorial. They are all over the Internet. But, I will point out, the
Tab
key works as an auto-complete. This is the single most important tidbit of working in shell. Instead of having to type out a long file name, type the first two letters and hit tab. It'll try to fill it in for you.
Let's start our server setup.
Your server is simply a computer. But, we are going to install a program your computer which will cause anyone visiting your IP address in the browser to see parts of your file system. The visitor's browser loads information from your file system and, if the files are in a language the browser understands, renders it for the visitor. These files will be in HTML and CSS produced by Jekyll.
Ok. The server program we will be using is called
nginx
. It is not the oldest or the most common. But I find its use straightforward and it seems pretty darn fast too.
But first, let's update Linux system. At your server's command line type.
sudo apt-get update
And hit enter. This causes all the repository links to be updated. The repository links are libraries of Internet addresses telling your computer when it can find free stuff! Everything is swag on Linux.
Let's take a second to check something before we start install
nginx
. Open any browser and type your linode's ip address in the browser address bar and hit enter. Most likely, nothing will happen. The browser is trying to make contact with your server, but there is no program installed on your server to
serve
the website to a browser. That's what
nginx
will do.
Let's download
nginx
now
sudo apt-get install nginx
It will ask if you want to install
nginx
say yes.
Once it's installed, let's test and make sure it works.
Type
nginx
It should respond with
nginx: [emerg] bind() to 0.0.0.0:80 failed (98: Address already in use)
nginx: [emerg] bind() to [::]:80 failed (98: Address already in use)
nginx: [emerg] bind() to 0.0.0.0:80 failed (98: Address already in use)
nginx: [emerg] bind() to [::]:80 failed (98: Address already in use)
nginx: [emerg] bind() to 0.0.0.0:80 failed (98: Address already in use)
nginx: [emerg] bind() to [::]:80 failed (98: Address already in use)
nginx: [emerg] bind() to 0.0.0.0:80 failed (98: Address already in use)
nginx: [emerg] bind() to [::]:80 failed (98: Address already in use)
nginx: [emerg] bind() to 0.0.0.0:80 failed (98: Address already in use)
nginx: [emerg] bind() to [::]:80 failed (98: Address already in use)
nginx: [emerg] still could not bind()
Great! This means it is installed and working. We just need to setup
nginx
to serve our files on our server address instead of
0.0.0.0:80
.
Also, open a browser and type your sever's IP address again. Hit enter. This time you should see:

Wow, your are now serving an html to the world, for anyone who visits your website. Pretty cool, eh? I think so.
Want to see something pretty cool?
Type (note,
do not
include
sudo
here)
nano /var/www/html/index.nginx-debian.html
You should see the content of the html file being served by
nginx
.
<!DOCTYPE html>
<html>
<head>
<title>Welcome to nginx!</title>
<style>
    body {
        width: 35em;
        margin: 0 auto;
        font-family: Tahoma, Verdana, Arial, sans-serif;
    }
</style>
</head>
<body>
<h1>Welcome to nginx!</h1>
<p>If you see this page, the nginx web server is successfully installed and
working. Further configuration is required.</p>
<p>For online documentation and support please refer to
<a href="http://nginx.org/">nginx.org</a>.<br/>
Commercial support is available at
<a href="http://nginx.com/">nginx.com</a>.</p>

<p><em>Thank you for using nginx.</em></p>
</body>
</html>
Change
<h1>Welcome to nginx!</h1>
To
<h1>Welcome to the Jungle, baby!</h1>
Then hit
CTRL + O
, which should save the file. Then hit
CTRL + X
to exit the
nano
editor.
Now, switch back to your browser, go back to your website's IP address, and hit refresh. You should see.

Not seeing it? You didn't change the
<title>
instead of the
<h1>
, right? Ask me how I know that...
Friggin awesome! Let's move on to setting up Nginx, so you can serve your own website.
Linode actually has a great walkthrough on setting up Nginx.
But, for now, are going to stick with the basic
nginx
setup. There will other articles in this series where I show how to edit
nginx
to make the website better.
7. Jekyll
Let's setup Jekyll locally. To follow utilize Jekyll we are going to need to download and install the following programs.
Ruby
Ruby
is programing environment which contains a package manager which we will use a lot called
[gem](https://en.wikipedia.org/wiki/RubyGems)
. For example, when we type
gem install cool-program
it is the
ruby
environment pulling the
cool-program
from the Internet and installing it on your machine.
Bundler
Bundler is a program which helps pull all the dependencies needed to run a program together. As they say in the README, "Bundler makes sure Ruby applications run the same code on every machine."
Git
Git is version control program. It also has the ability to pull source code off line. We are going to use it at first to pull a theme off line, but eventually, we will manage your website Jekyll source code with it.
Homebrew (Mac Only)
Homebrew
, often referred to sa Brew, is a program which is like
apt
for Linux. It is a command line tool which lets you pull programs from the Internet and installs them locally.
Ok, let's get going
At your local computer's terminal type:
Linux
sudo apt-get install ruby
gem install jekyll
Mac
To setup Ruby correctly on Mac we are going to install a command line package manager for Mac called
brewed
. This is the equivalent of
apt
in Linux.
/usr/bin/ruby -e "$(curl -fsSL https://raw.githubusercontent.com/Homebrew/install/master/install)"
brew install ruby
gem install jekyll
gem install bundler
8. Get a Jekyll Starter
Jekyll is great for creating websites, but there is a lot of boilerplate. I found it much easier to clone someone else's Jekyll starter site than make my own from scratch.
For this series we are going to use the Neo-HPSTR theme.
Open the terminal and pick a directory where you would like to put a copy of your website. For me, I'm Linux and will use the home directory.
Now, let's download our theme.
git clone https://github.com/aron-bordin/neo-hpstr-jekyll-theme
Git clones the
neo-HPSTR
theme from the Internet and puts it in a directory called
/neo-hpstr-jekyll-theme
Feel free to rename the directory the name of your website. For example, my directory is called
ladvien.com
We are getting to putting this website on-line, just a few more steps.
9. Build the Jekyll Theme
Open your website's directory
cd neo-hpstr-jekyll-theme
And enter
bundler install
This will pull all the need programs to make this theme build on your computer. Note, you may be required to enter your password for file access.
Ok, moment of truth. Type
bundle exec jekyll build
You should see a response similar to
Configuration file: /home/ladvien/neo-hpstr-jekyll-theme/_config.yml
Deprecation: The 'gems' configuration option has been renamed to 'plugins'. Please update your config file accordingly.
Source: /home/ladvien/neo-hpstr-jekyll-theme
Destination: /home/ladvien/neo-hpstr-jekyll-theme/_site
Incremental build: disabled. Enable with --incremental
Generating...
done in 1.103 seconds.
Auto-regeneration: disabled. Use --watch to enable.
```
But, if you didn't get any errors, you should be good.
Breaking this down, we used the `bundler` program to execute the `jekyll` program. We passed the `build` command to the `jekyll` program, which tells `jekyll` to take all your jekyll files and compile them into your website. The `bundler` program made sure `jekyll` had everything it needed to compile correctly.
In your file explorer, navigate to your website directory and enter the `_site` directory. This directory contains your entire website after compilation.
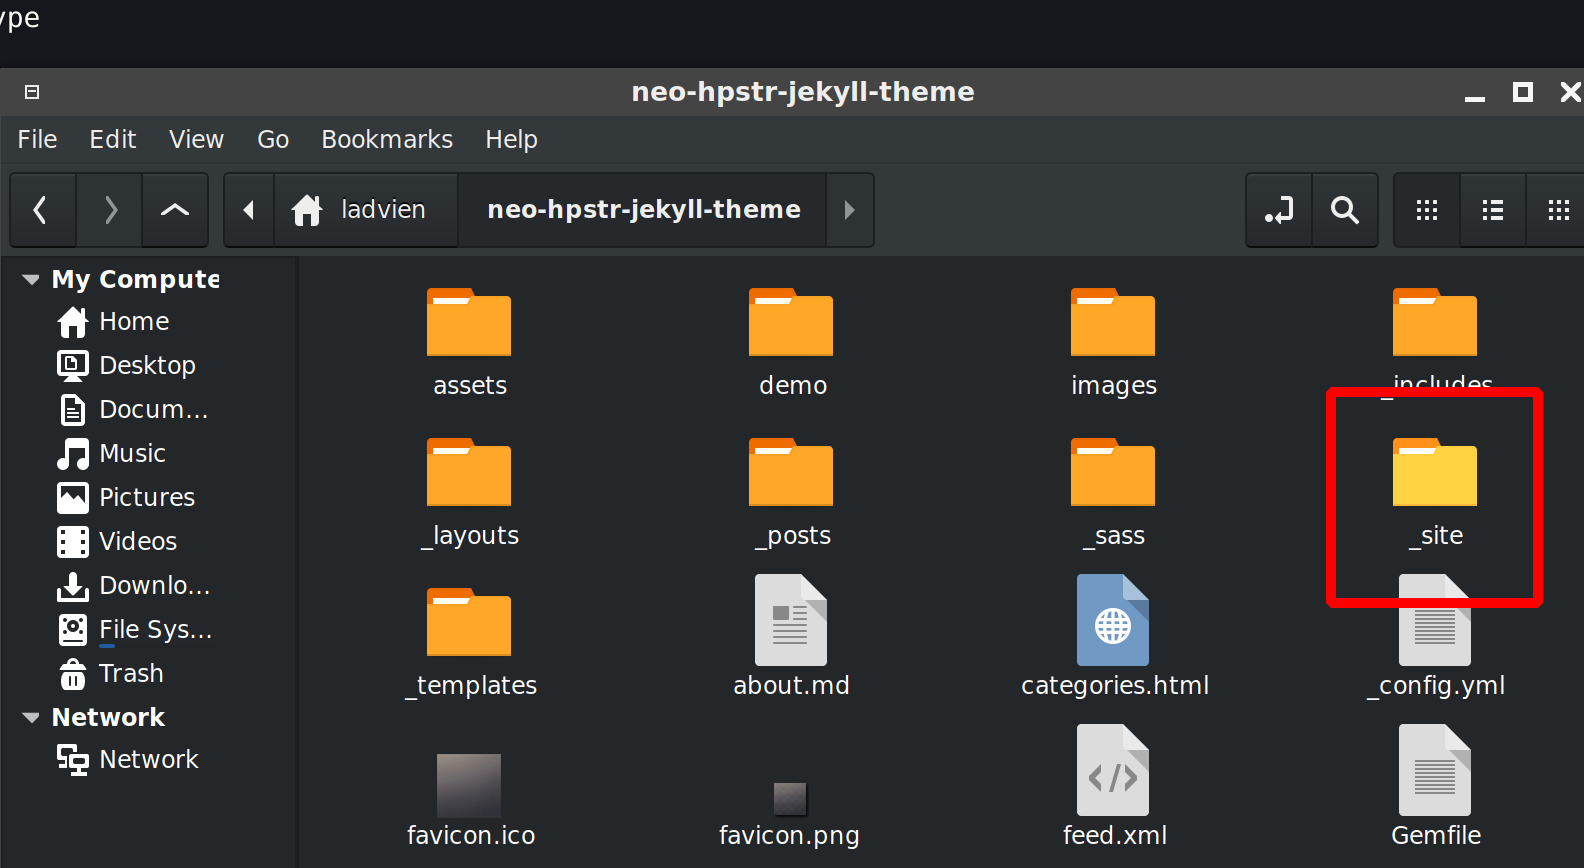
Open this folder and then double click on the file `index.html`. This should open your website locally in the browser.
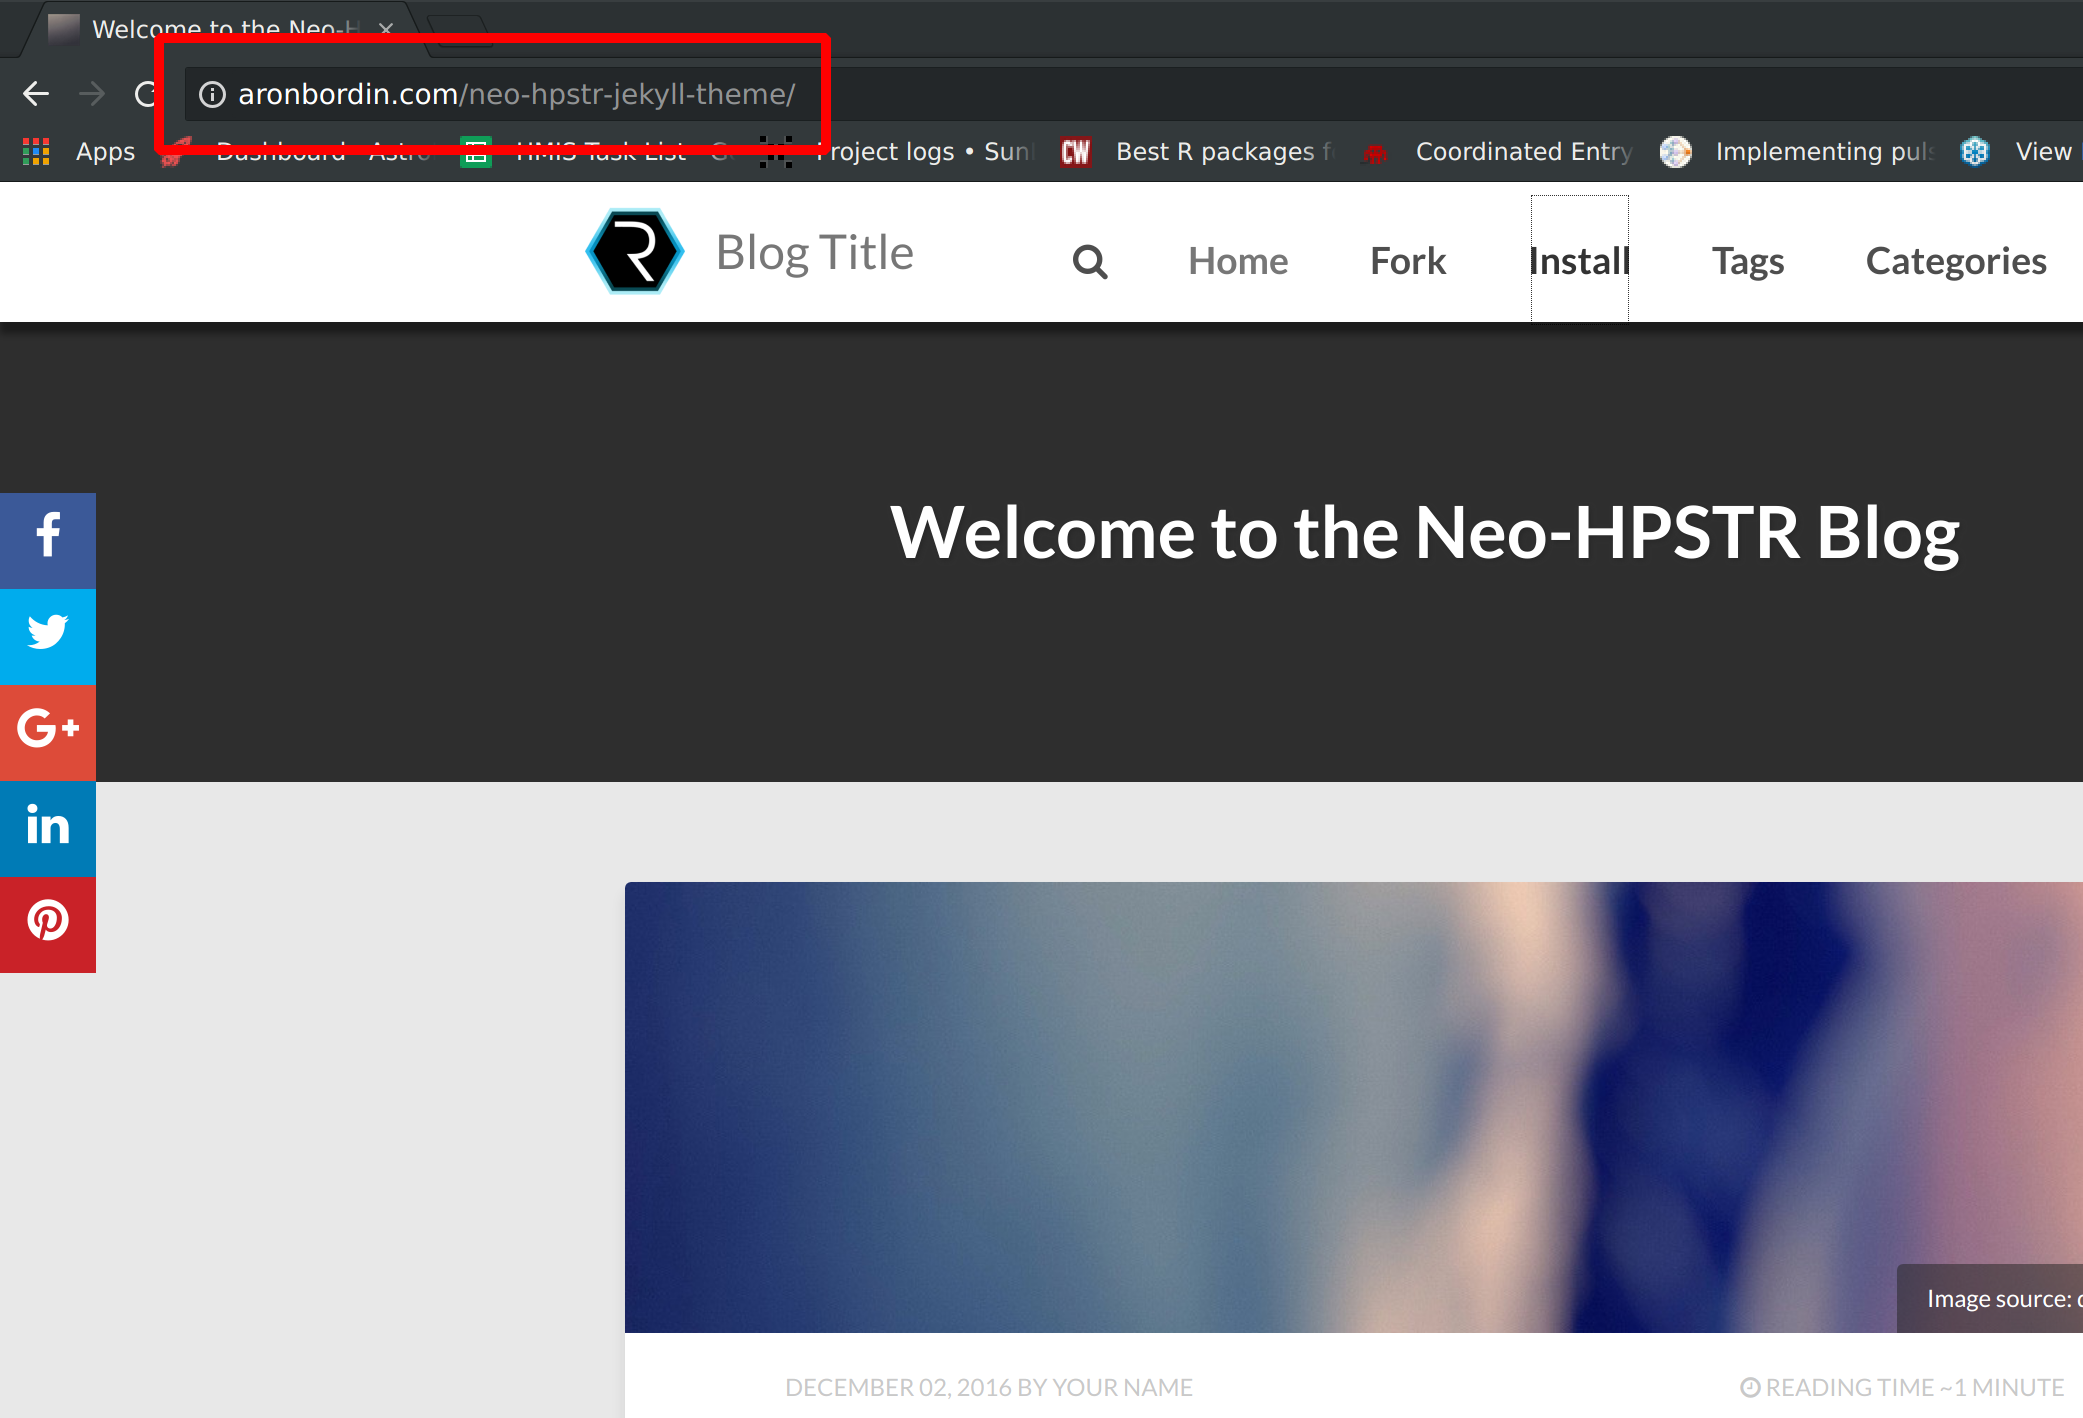
But this isn't what we want. Let's get it on the webserver we setup.
Open the command prompt and switch directories to your website's main directory. Then, type
scp -r site/* root@your.website.ip.address:/var/www/html/ ``` This should copy all of your compiled website files to your website. Go to your website address and you should see the website on-line! _Booyah!
10. That It?
Noooooo , this was the bare minimum setup. Here's a list of what I plan to tackle in this series.
-
Editing the
_config.ymlfile to customize your theme - Setup your code on Github
-
Adding
SSLencryption - Tweaking the server to zip assets before sending them to your viewers
- Make the server more secure -- this is called hardening
-
Create a script which will automatically compile Jekyll, send it to
Github, and then copy the compiled files to your website.