This article is part of a series.
View all 6 parts
- Part 1 – Setting up a Raspberry Pi NAS
- Part 2 – Setup Production Postgres Raspberry Pi 5 (Distro-Agnostic)
- Part 3 – This Article
- Part 4 – Nginx Reverse Proxy on Raspberry Pi (Ubuntu Server)
- Part 5 – Add HTTPS to Your Raspberry Pi with Nginx and Cloudflare
- Part 6 – Switch from Cloudflare Origin Certificates to Let’s Encrypt on Raspberry Pi with Cloudflare Tunnel
Cloudflare Tunnel (formerly Argo Tunnel) allows you to expose your Raspberry Pi 5 services to the internet without port forwarding , without exposing your IP , and with automatic HTTPS —all for free.
This guide walks you through setting up a Cloudflare Tunnel to access a web service running on your Raspberry Pi 5 at home.
🔧 Prerequisites
To get started, you'll need:
- A Cloudflare account (free tier is sufficient)
-
A domain name added to Cloudflare (e.g.
yourdomain.com) - A Raspberry Pi 5 with Ubuntu (or compatible Linux)
- A running web service (e.g., Flask app, Nginx, Node, etc.)
- Optional: Static IP or DHCP reservation for your Pi
🚀 Step-by-Step Setup
2. Create Cloudflare Account
Open a browser and visit:
You will need to register for an account if you don't already have one. If you do register for your account, don't forget to check your email to verify it.
Next, you'll need a domain name in your Cloudflare account. You've got a couple of options, you can register a new domain name. Or, you can transfer in an existing domain name
3.A Register for Domain Name
The easiest way to get going is if you can afford the ~$10 a month for a new domain name at Cloudflare.
Select an available domain name, then click
Purchase
.

Once completed you should have a new shiny domain name all your own.
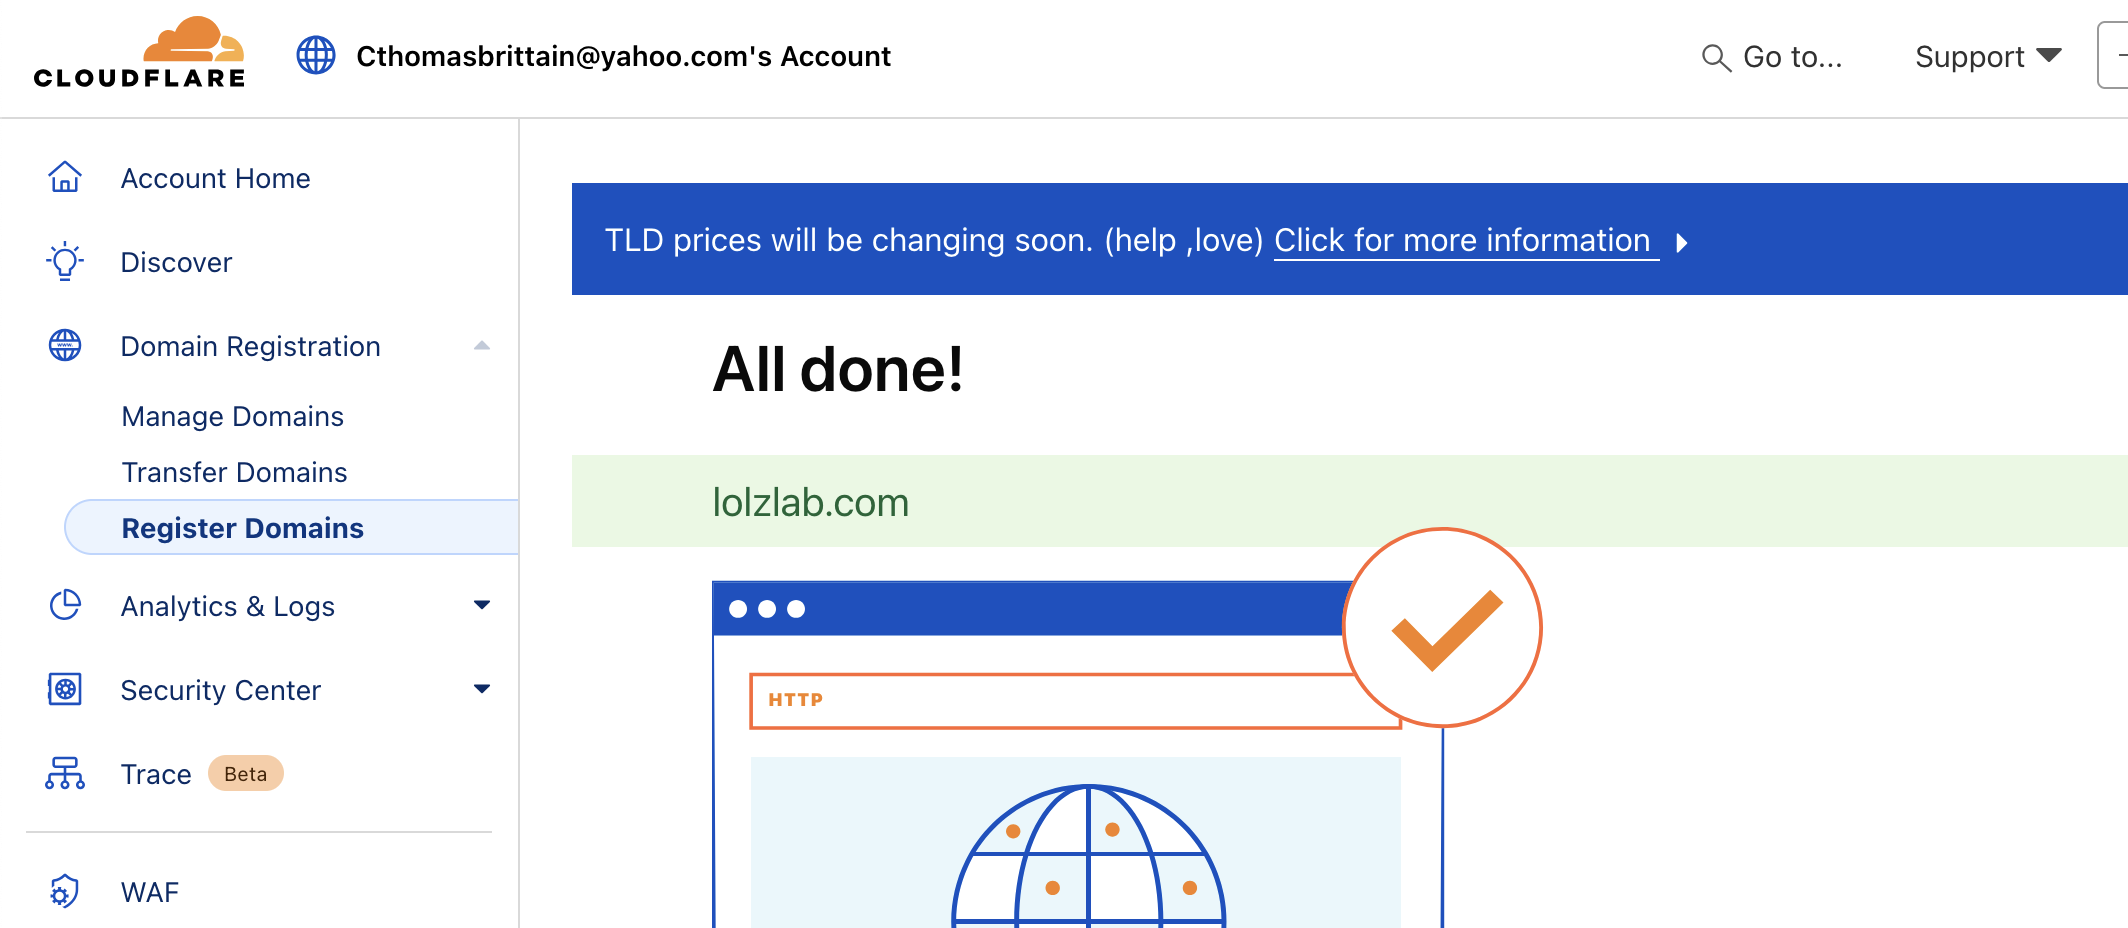
3.B Transfer in Domain Name
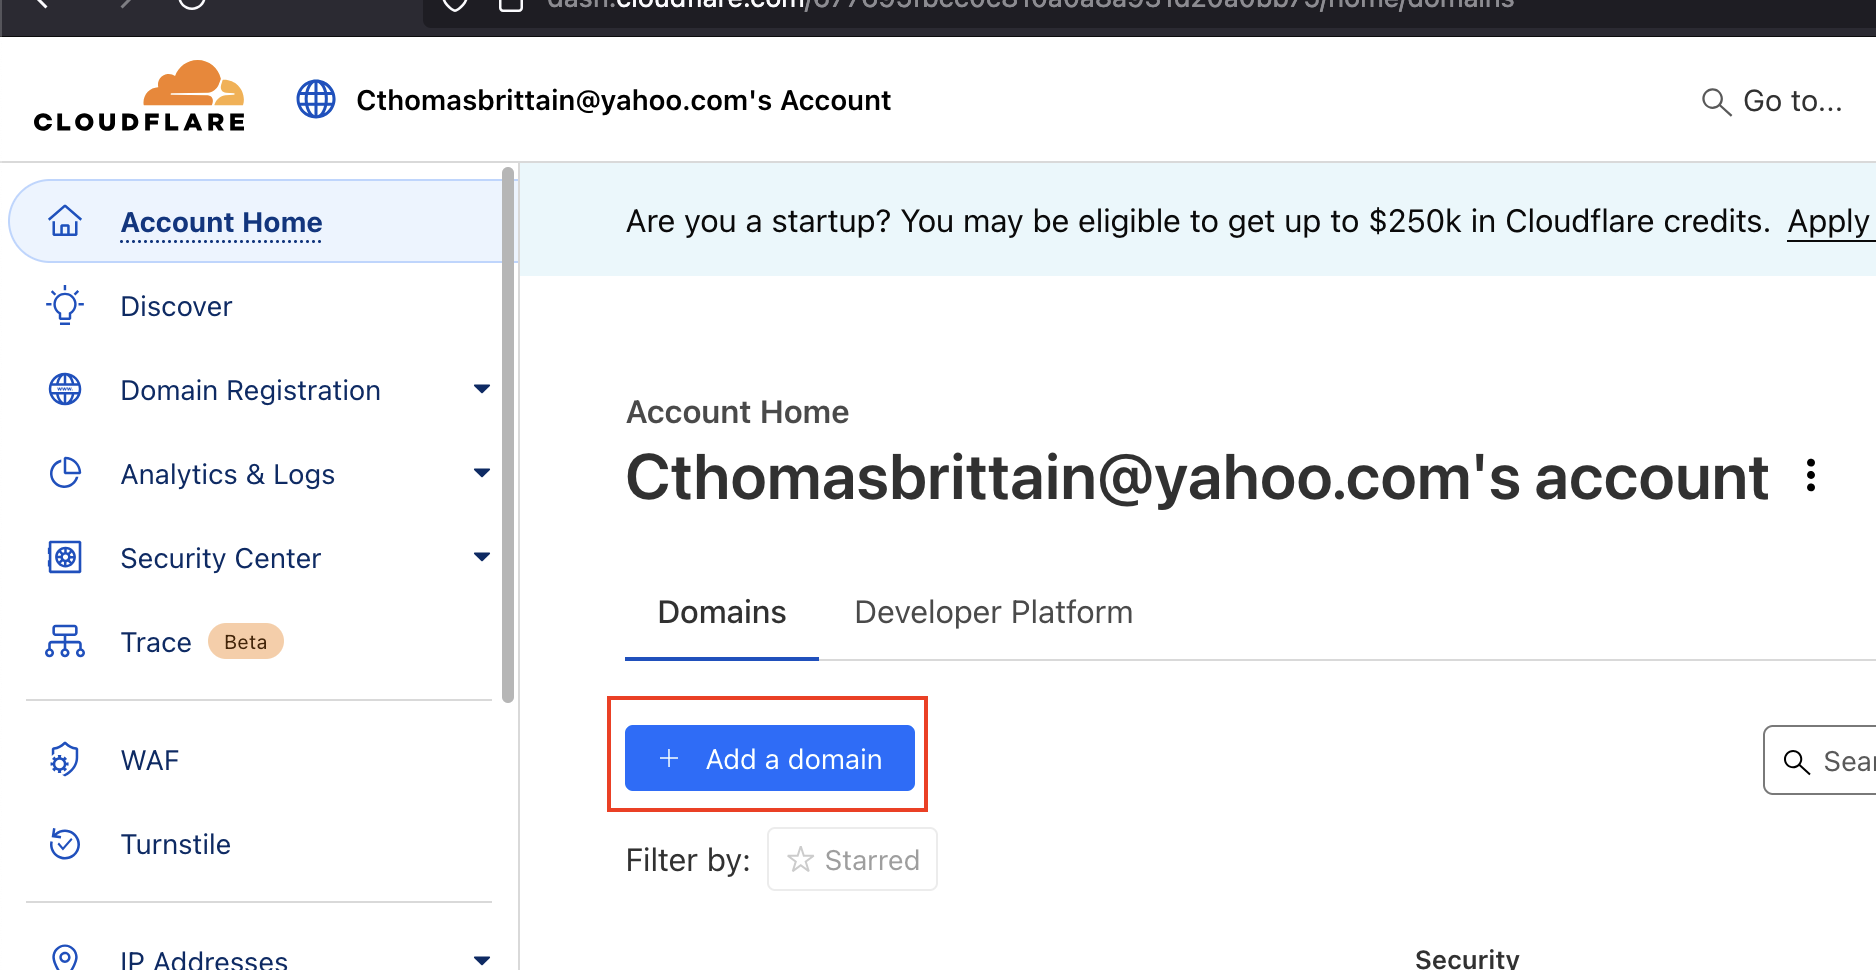
Still in the browser in your Cloudflare account, navigate to "Account Home" and click "Add Domain."
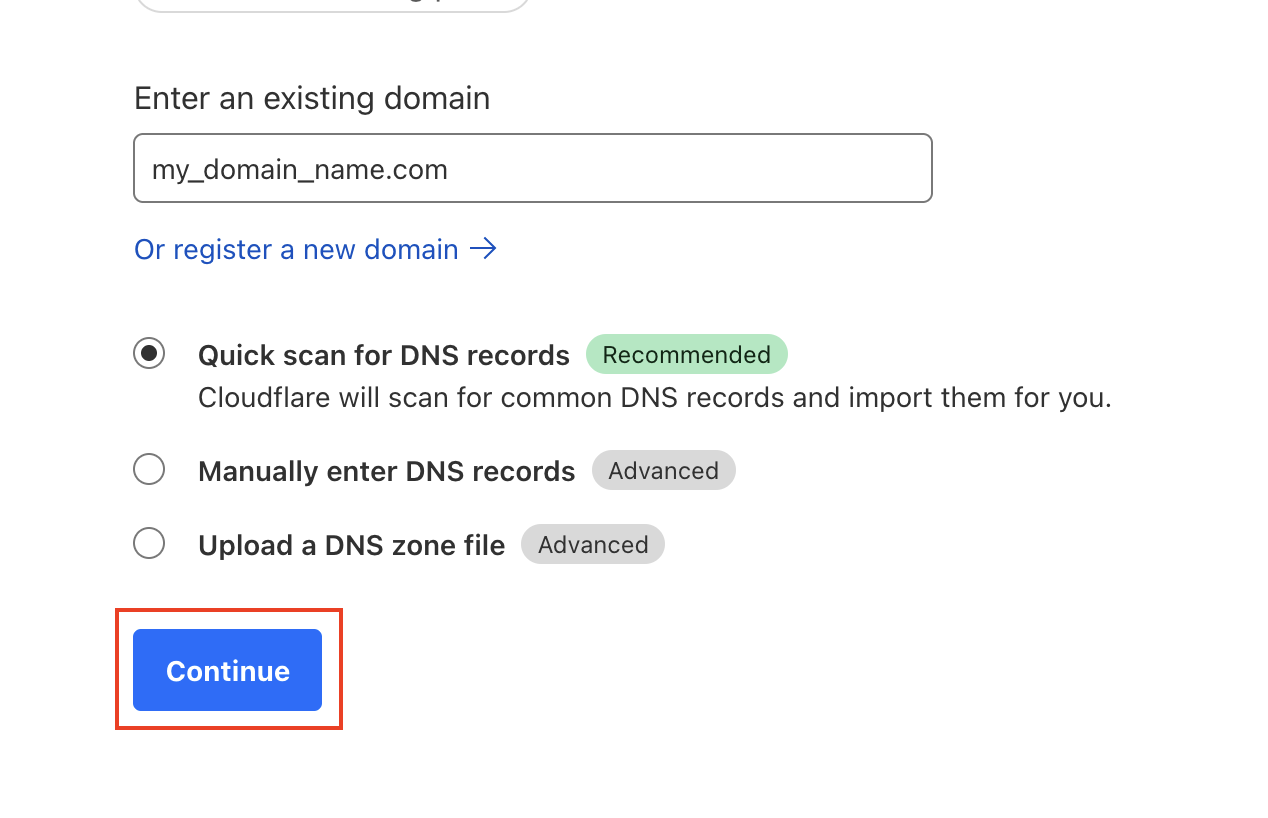
Choose a domain name, select "Quick scan for DNS records," and "Continue."
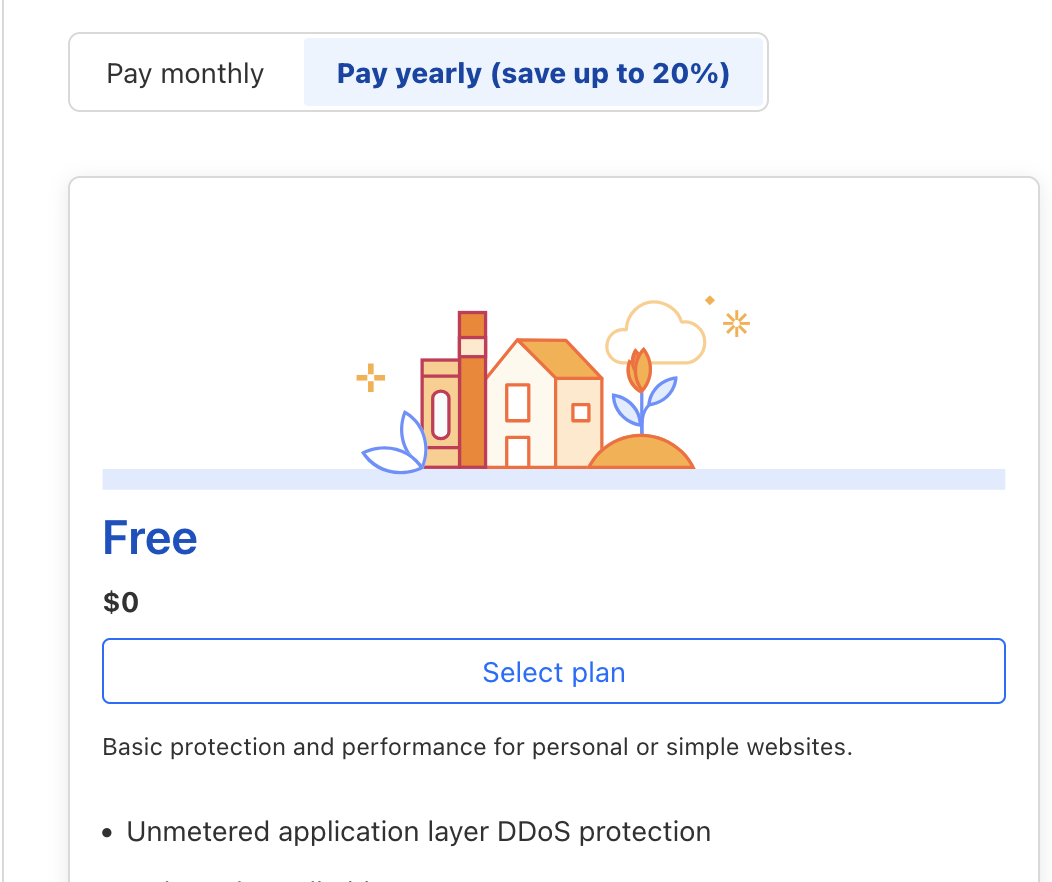
Then select the "Free" plan. 🎉
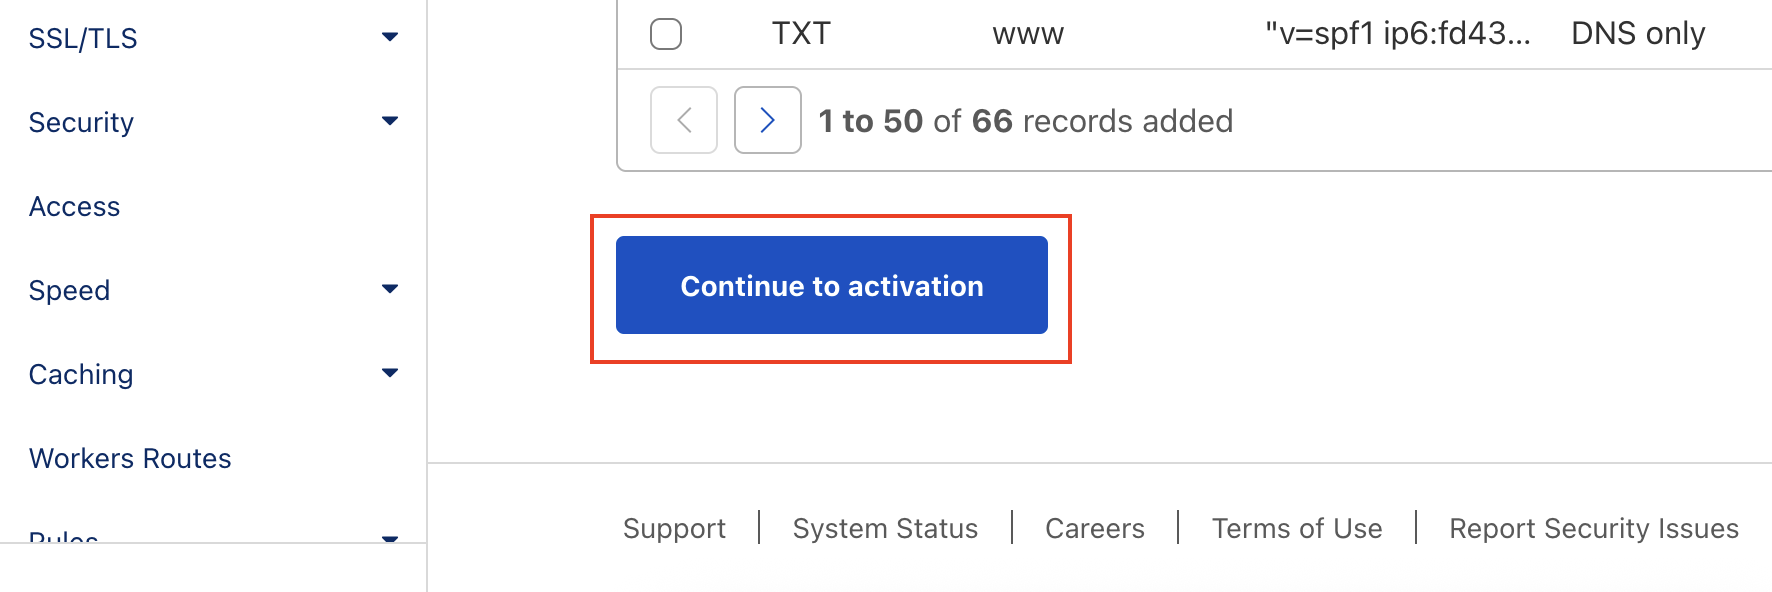
On the "Review your DNS records," scroll to the bottom and click "Continue to activation."
Next, you'll need to update the domain nameservers at your domain registrar (e.g., Freenom, Namecheap, AWS Route 53, etc.) to point to Cloudflare’s nameservers.
Replace your domain’s current nameservers with the two nameservers provided by Cloudflare, which typically look like:
aria.ns.cloudflare.com
noah.ns.cloudflare.com
To do this:
- Go to your domain registrar’s dashboard (e.g., Freenom).
- Find your domain’s DNS management or Nameservers section.
- Select “Use custom nameservers.”
- Enter the two nameservers from Cloudflare.
- Save your changes.
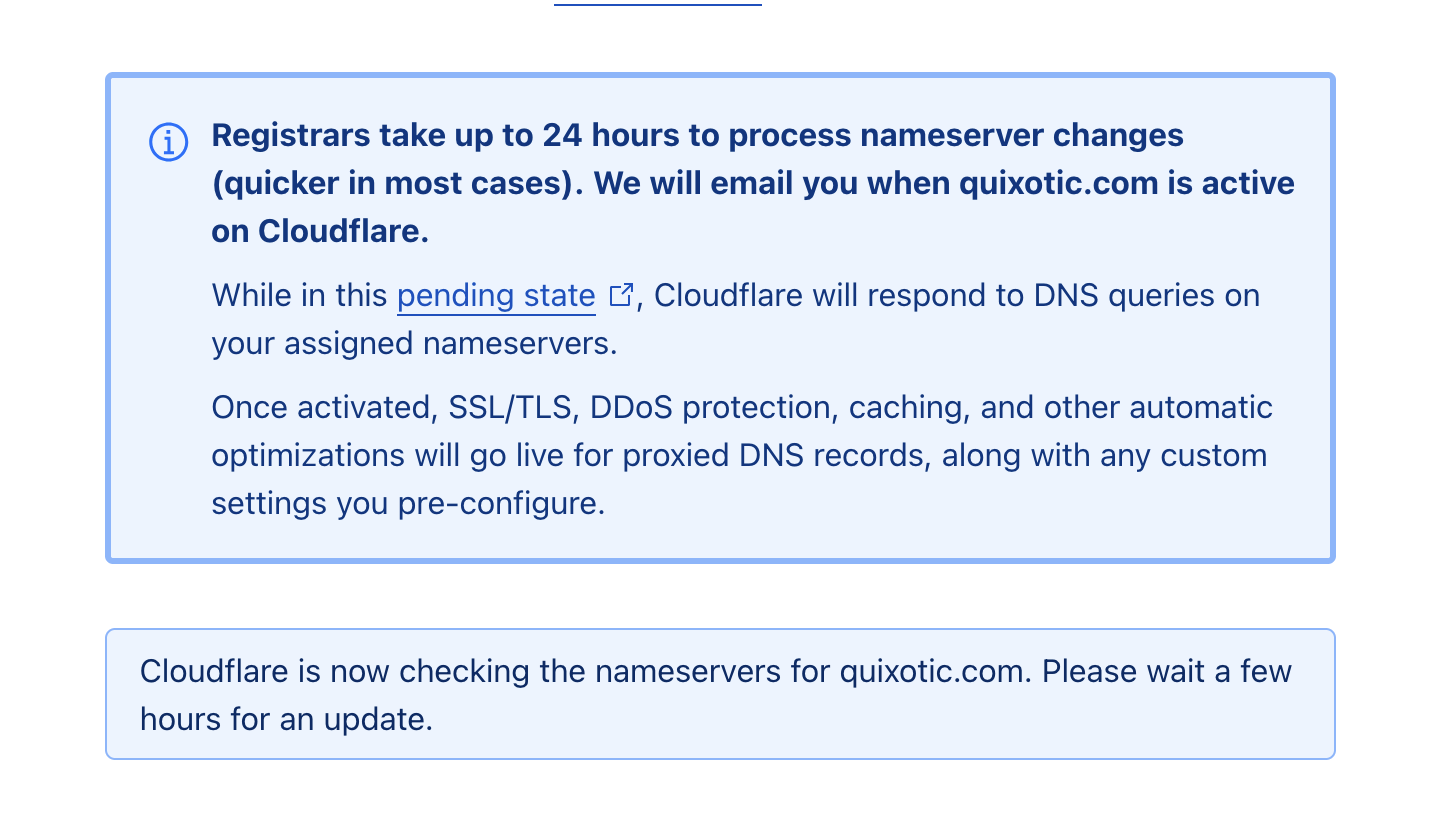
Now we have to wait until the domain name is fully registered.
4. Install Cloudflare
Install the Cloudflare Tunnel client on your Raspberry Pi:
sudo apt update
sudo apt install -y curl
curl -L https://github.com/cloudflare/cloudflared/releases/latest/download/cloudflared-linux-arm64.deb -o cloudflared.deb
sudo dpkg -i cloudflared.deb

4. Login to Cloudflare from Raspberry Pi
Log into Cloudflare to authorize the tunnel:
cloudflared tunnel login

Click on the link in the terminal. This should open your browser to CloudFlare. Select the domain you wish link to the tunnel.
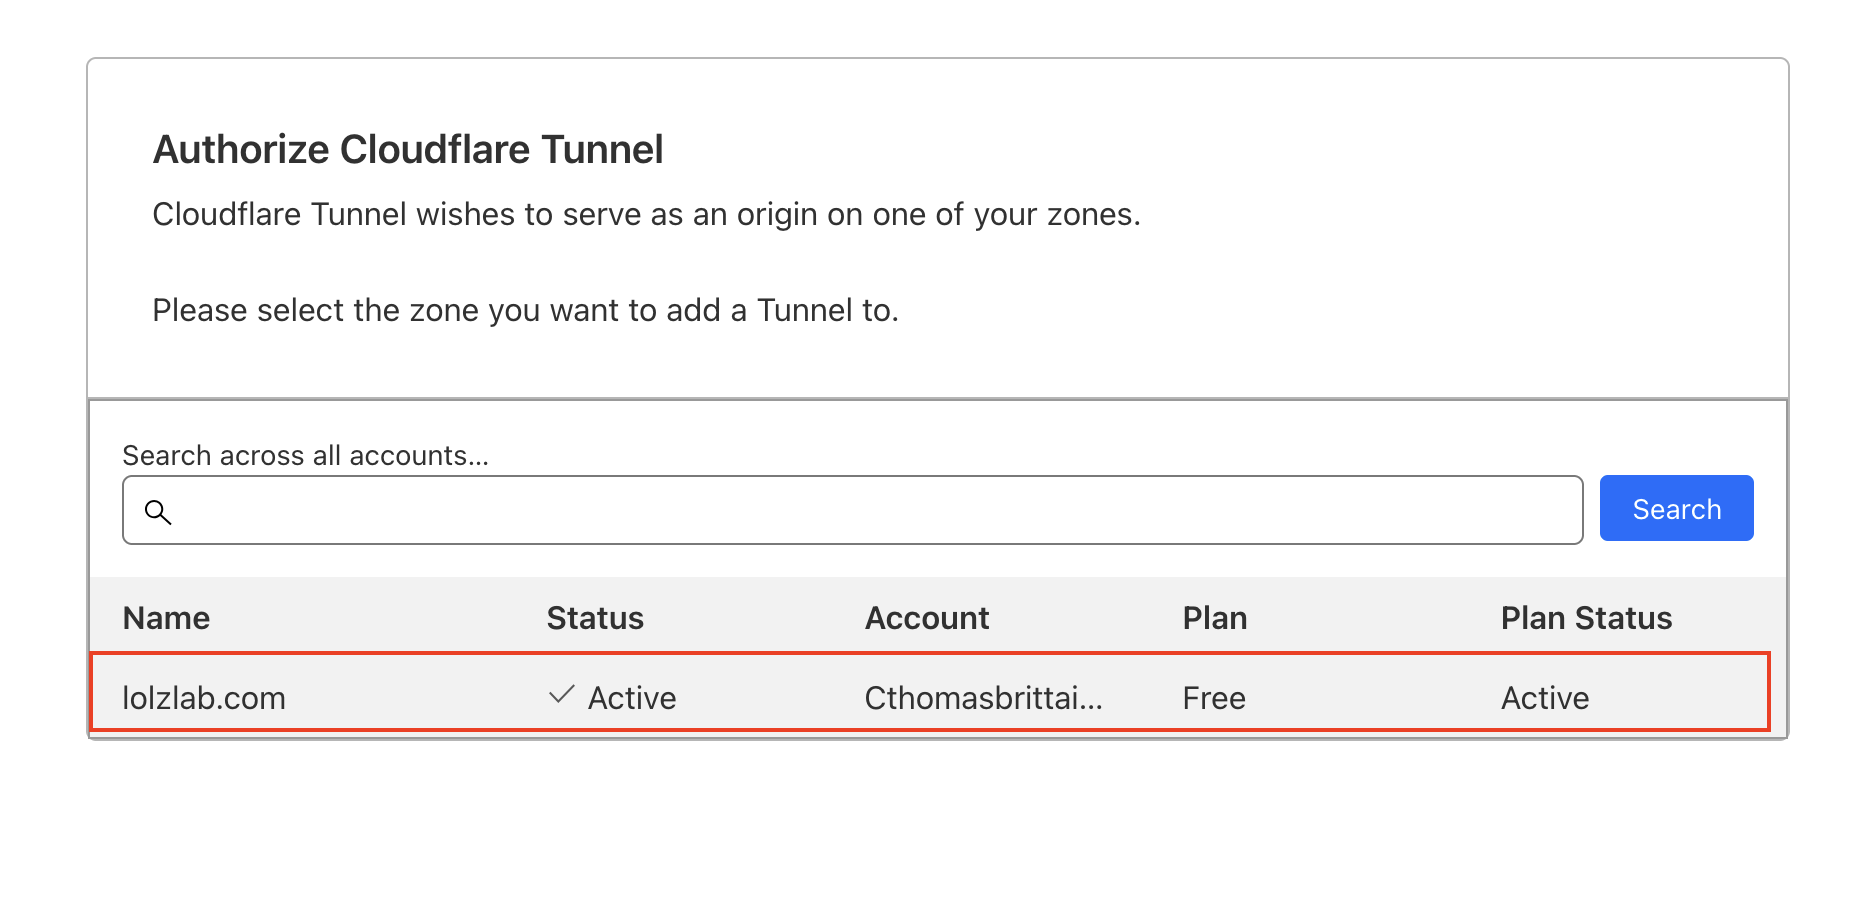
And then select "Authorize"

If the link is successful, then you should see something similar to:
2025-05-24T21:01:42Z INF You have successfully logged in.
If you wish to copy your credentials to a server, they have been saved to:
/home/ladvien/.cloudflared/cert.pem
5. Create Cloudflare Tunnel
Still at the terminal on your Raspberry Pi type the following--replacing
<my_tunnel_name>
with whatever you would like to call the tunnel:
cloudflared tunnel create <my_tunnel_name>
For example, here's mine:
cloudflared tunnel create lolz_at_home

If it all goes well,then you should get something similar to:
Tunnel credentials written to /home/ladvien/.cloudflared/444f186a-xxxx-xxxx-xxxx-xxxxxxxxxxxx.json. cloudflared chose this file based on where your origin certificate was found. Keep this file secret. To revoke these credentials, delete the tunnel.

Created tunnel lolz_at_home with id 444f186a-xxxx-xxxx-xxxx-xxxxxxxxxxxx
(Optional)
The tunnel information file is created with the filename being
<tunnel_key.json>
. I wanted to ensure I knew it was the next time I started reviewing the infrastructure configuration, so I've re named my configuration file with the scheme
<tunnel_name.json>
So, I ran:
mv ~/.cloudflared/444f186a-xxxx-xxxx-xxxxx-xxxxxxxxxxx.json ~/.cloudflared/<tunnel_name>.json
4. Create a Configuration File
Create the directory and config file:
mkdir -p ~/.cloudflared
vi ~/.cloudflared/config.yml
And enter the following, be sure to replace
<your_tunnel_name>
(note there are two) with your tunnel's name from the previous step and
<pi.yourdomain.com>
with a real subdomain from your Cloudflare-managed domain and
tunnel: <your_tunnel_name>
credentials-file: /home/pi/.cloudflared/<your_tunnel_name>.json

ingress:
  - hostname: <pi.yourdomain.com>
    service: http://localhost:80
  - service: http_status:404
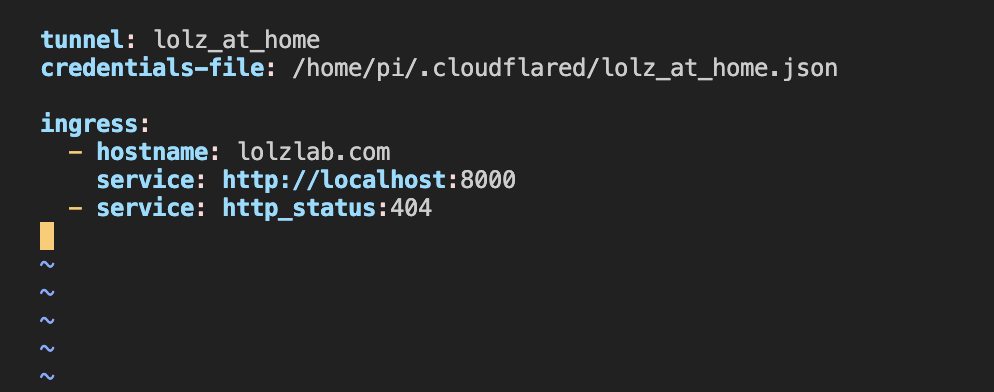
Mine ended up looking like this:
5. Set Up DNS
Automatically point the subdomain to your tunnel:
-
<tunnel_name>
- this is the name of the tunnel you defined in previous steps.
-
<pi.yourdomain.com>
- the domain name in Cloudflare
cloudflared tunnel route dns <tunnel_name> <pi.yourdomain.com>
If successful, you should get an info message like:
2025-05-24T21:17:27Z INF Added CNAME lolzlab.com which will route to this tunnel tunnelID=444f186a-xxxxx-xxxx-xxxx-xxxxxxxxxxx
6. Run the Tunnel
Run it in the foreground to test:
cloudflared tunnel run my-pi-tunnel
7. Run as a Systemd Service (Recommended)
To run the tunnel automatically:
sudo cloudflared service install
Then check the status:
sudo systemctl status cloudflared
8. Test the Tunnel with a Simple Web Server
Start a temporary test server:
cd ~
python3 -m http.server 80
Leave this program running. Open a second terminal on your Pi and check if the web server is reachable locally:
cd ~
curl http://localhost:80
It should respond with some HTML, something like:
<!DOCTYPE HTML>
<html lang="en">

<head>
    <meta charset="utf-8">
    <title>Directory listing for /</title>
</head>

<body>
    <h1>Directory listing for /</h1>
    <hr>
    <ul>
        <li><a href=".bash_history">.bash_history</a></li>
        <li><a href=".bash_logout">.bash_logout</a></li>
        <li><a href=".bashrc">.bashrc</a></li>
        <li><a href=".cache/">.cache/</a></li>
        <li><a href=".cloudflared/">.cloudflared/</a></li>
        <li><a href=".config/">.config/</a></li>
        <li><a href=".profile">.profile</a></li>
        <li><a href=".pyenv/">.pyenv/</a></li>
        <li><a href=".ssh/">.ssh/</a></li>
        <li><a href=".sudo_as_admin_successful">.sudo_as_admin_successful</a></li>
        <li><a href=".viminfo">.viminfo</a></li>
        <li><a href="cloudflared.deb">cloudflared.deb</a></li>
        <li><a href="setup.sh">setup.sh</a></li>
    </ul>
    <hr>
</body>

</html>
This is a file listing of your user's home directory
